Azure Application Services
By Tom Ratcliff
Deploy An Application on Azure App Services
Table of Contents
Create Awesome App/Model/Algo
In this example we will be using a python (Flask) backend and a nodejs (VueJS) frontend.
There are two options within Azure (as we will see shortly) to deploy App services
- Source code deployment
- Container deployment
We will be using that latter
For this example we will not be using CI/CD :sad_face: due to our new GitLab not having the external network access required to build container images and push externally. Will revisit once fixed :thumbs_up:
Containerizing
We will not cover all things containers, but want to highlight that we will be using Environment variables for the configuration of our containers. ie:
Example docker file:
FROM python:3.10.7

WORKDIR /usr/src/app

ENV FLASK_ENV="docker"
ENV FLASK_APP=app.py
ENV PYTHONDONTWRITEBYTECODE 1
ENV PYTHONUNBUFFERED 1

RUN pip install --upgrade pip

COPY ./requirements.txt ./requirements.txt

RUN pip install --no-cache-dir -r requirements.txt

EXPOSE 8085

RUN pip install gunicorn

COPY . .

ENTRYPOINT ["gunicorn", "--bind", "0.0.0.0:8085", "app:create_app()"]
And example Environment file (.env) that will be used for local dev:
ENV_DATABASE_HOST=localhost
ENV_DATABASE_NAME=postgres
ENV_DATABASE_USERNAME=root
ENV_DATABASE_PASSWORD=root
ENV_DATABASE_PORT=5432
ENV_DATABASE_SCHEMA=analytic_platform
The above values will be overwritten with production values in Azure (shown later)
Create the container image with:
$ docker build -f Dockerfile .
We will re-tag and push this image later, after we set our Container Image Registry up within Azure
Azure Database Provisioning
We will be using Azure Database for PostgreSQL flexible servers
In Azure search for “postgres” and select the “flexible servers” option.

Select “Create”

Fill out the form (subscription, name, credentials, etc.)
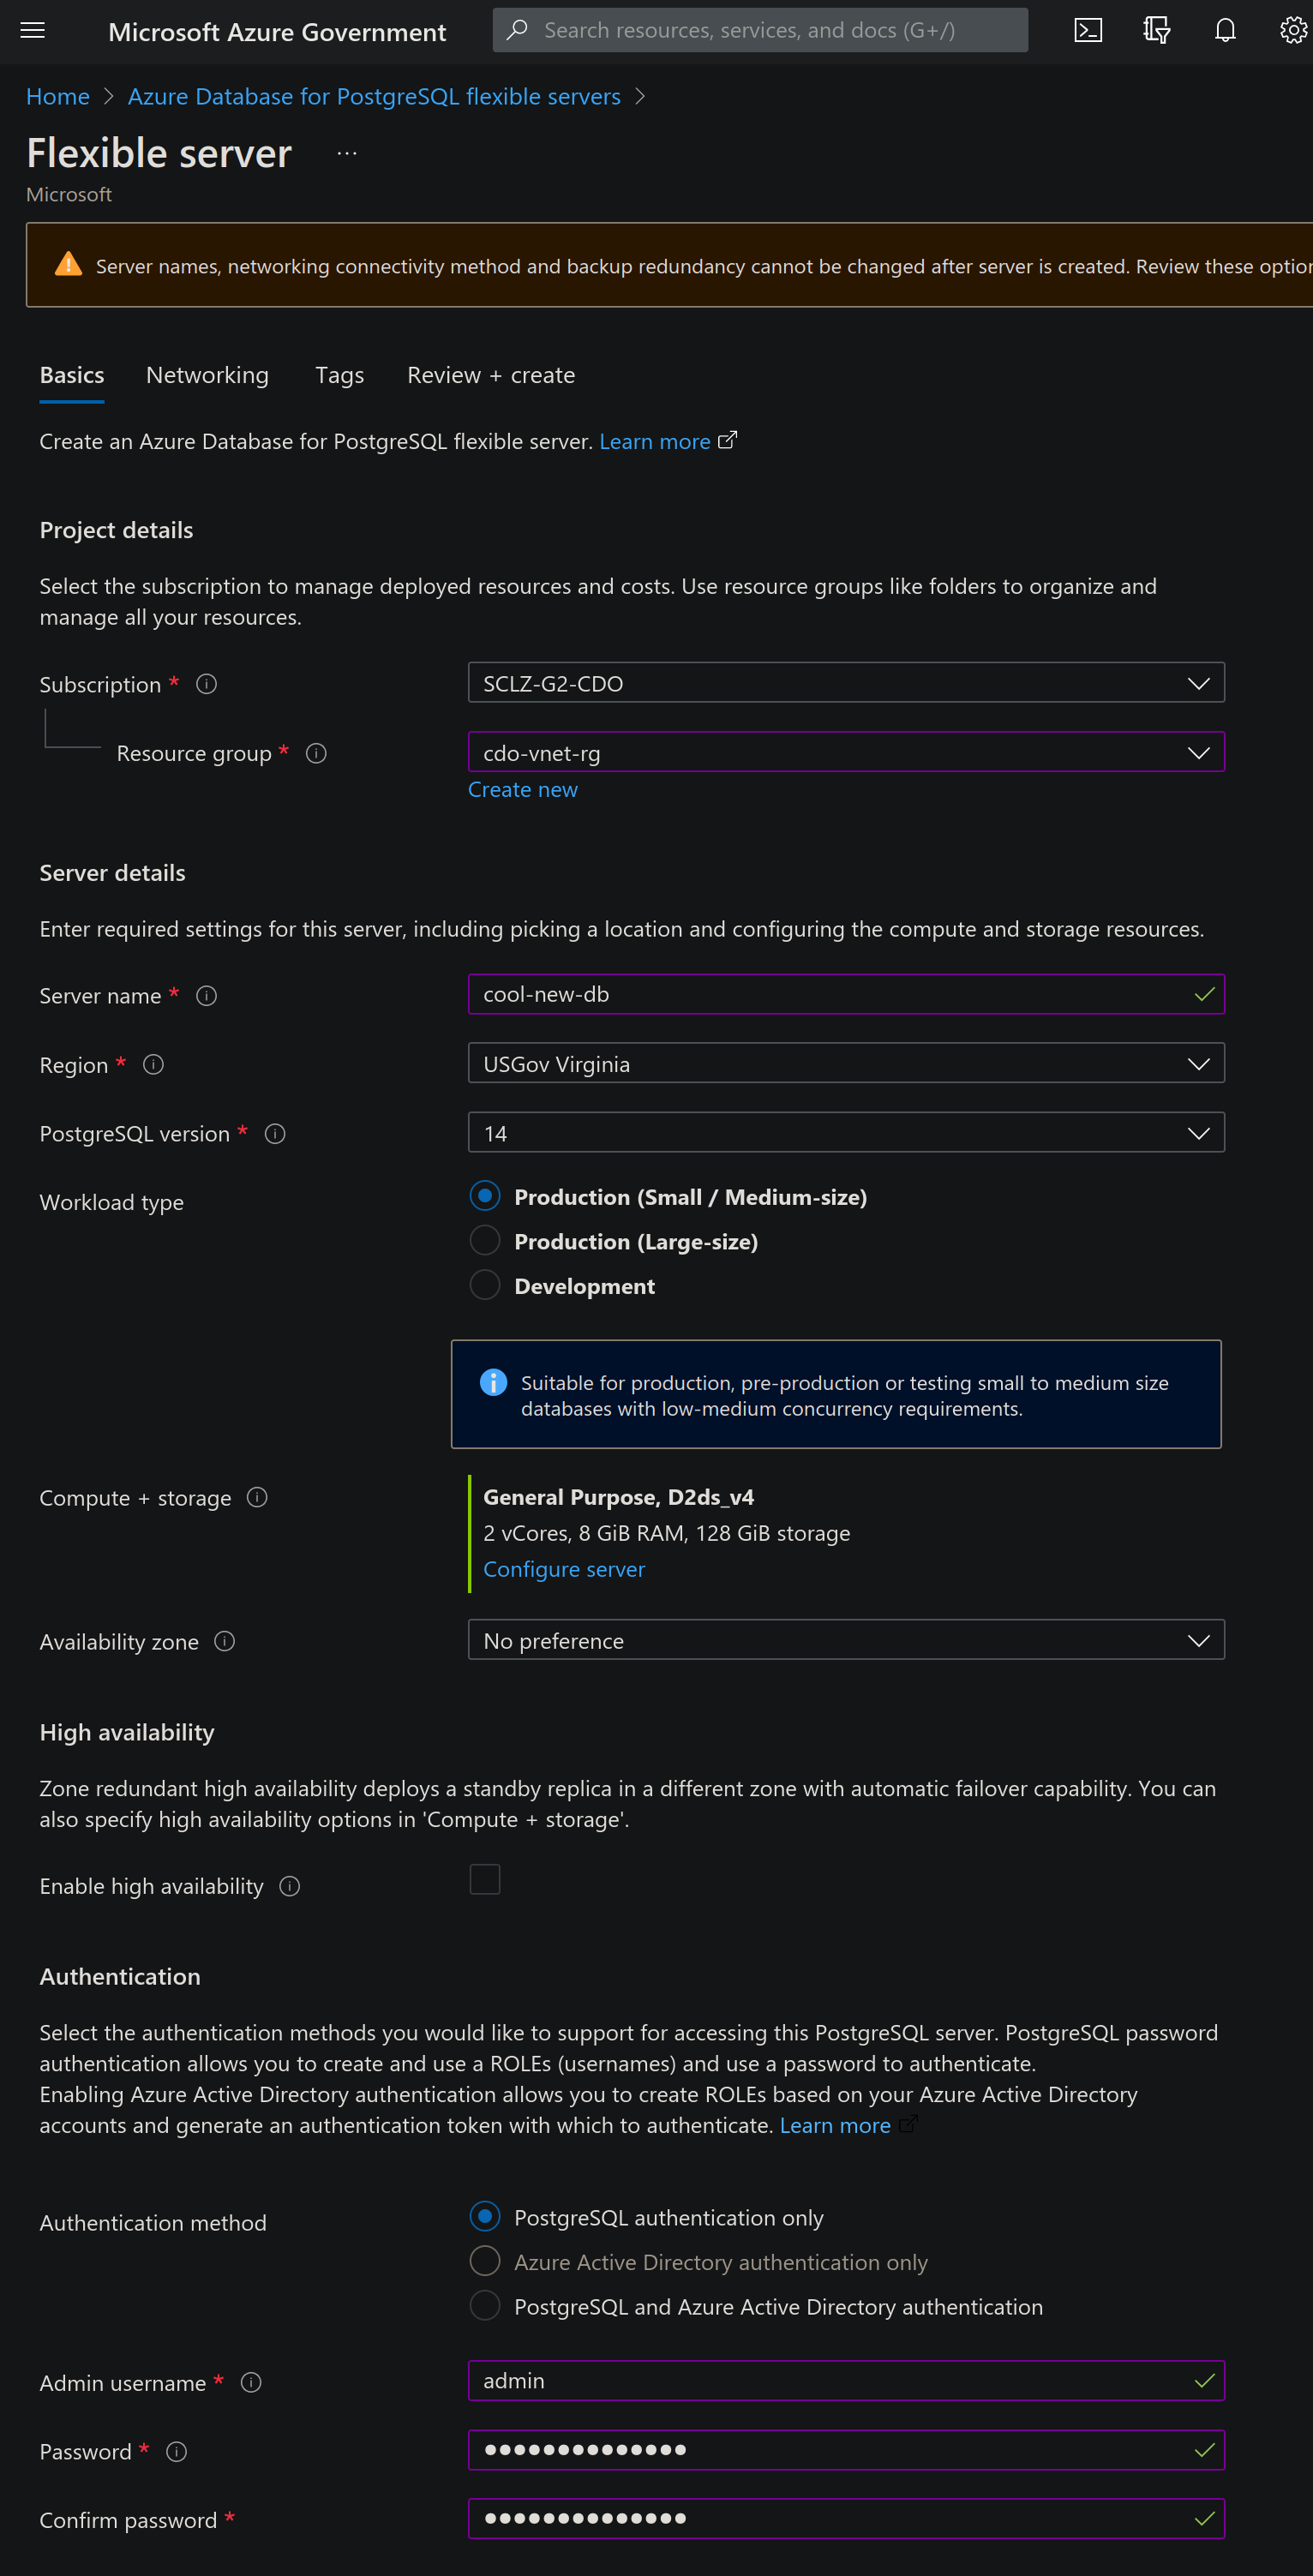
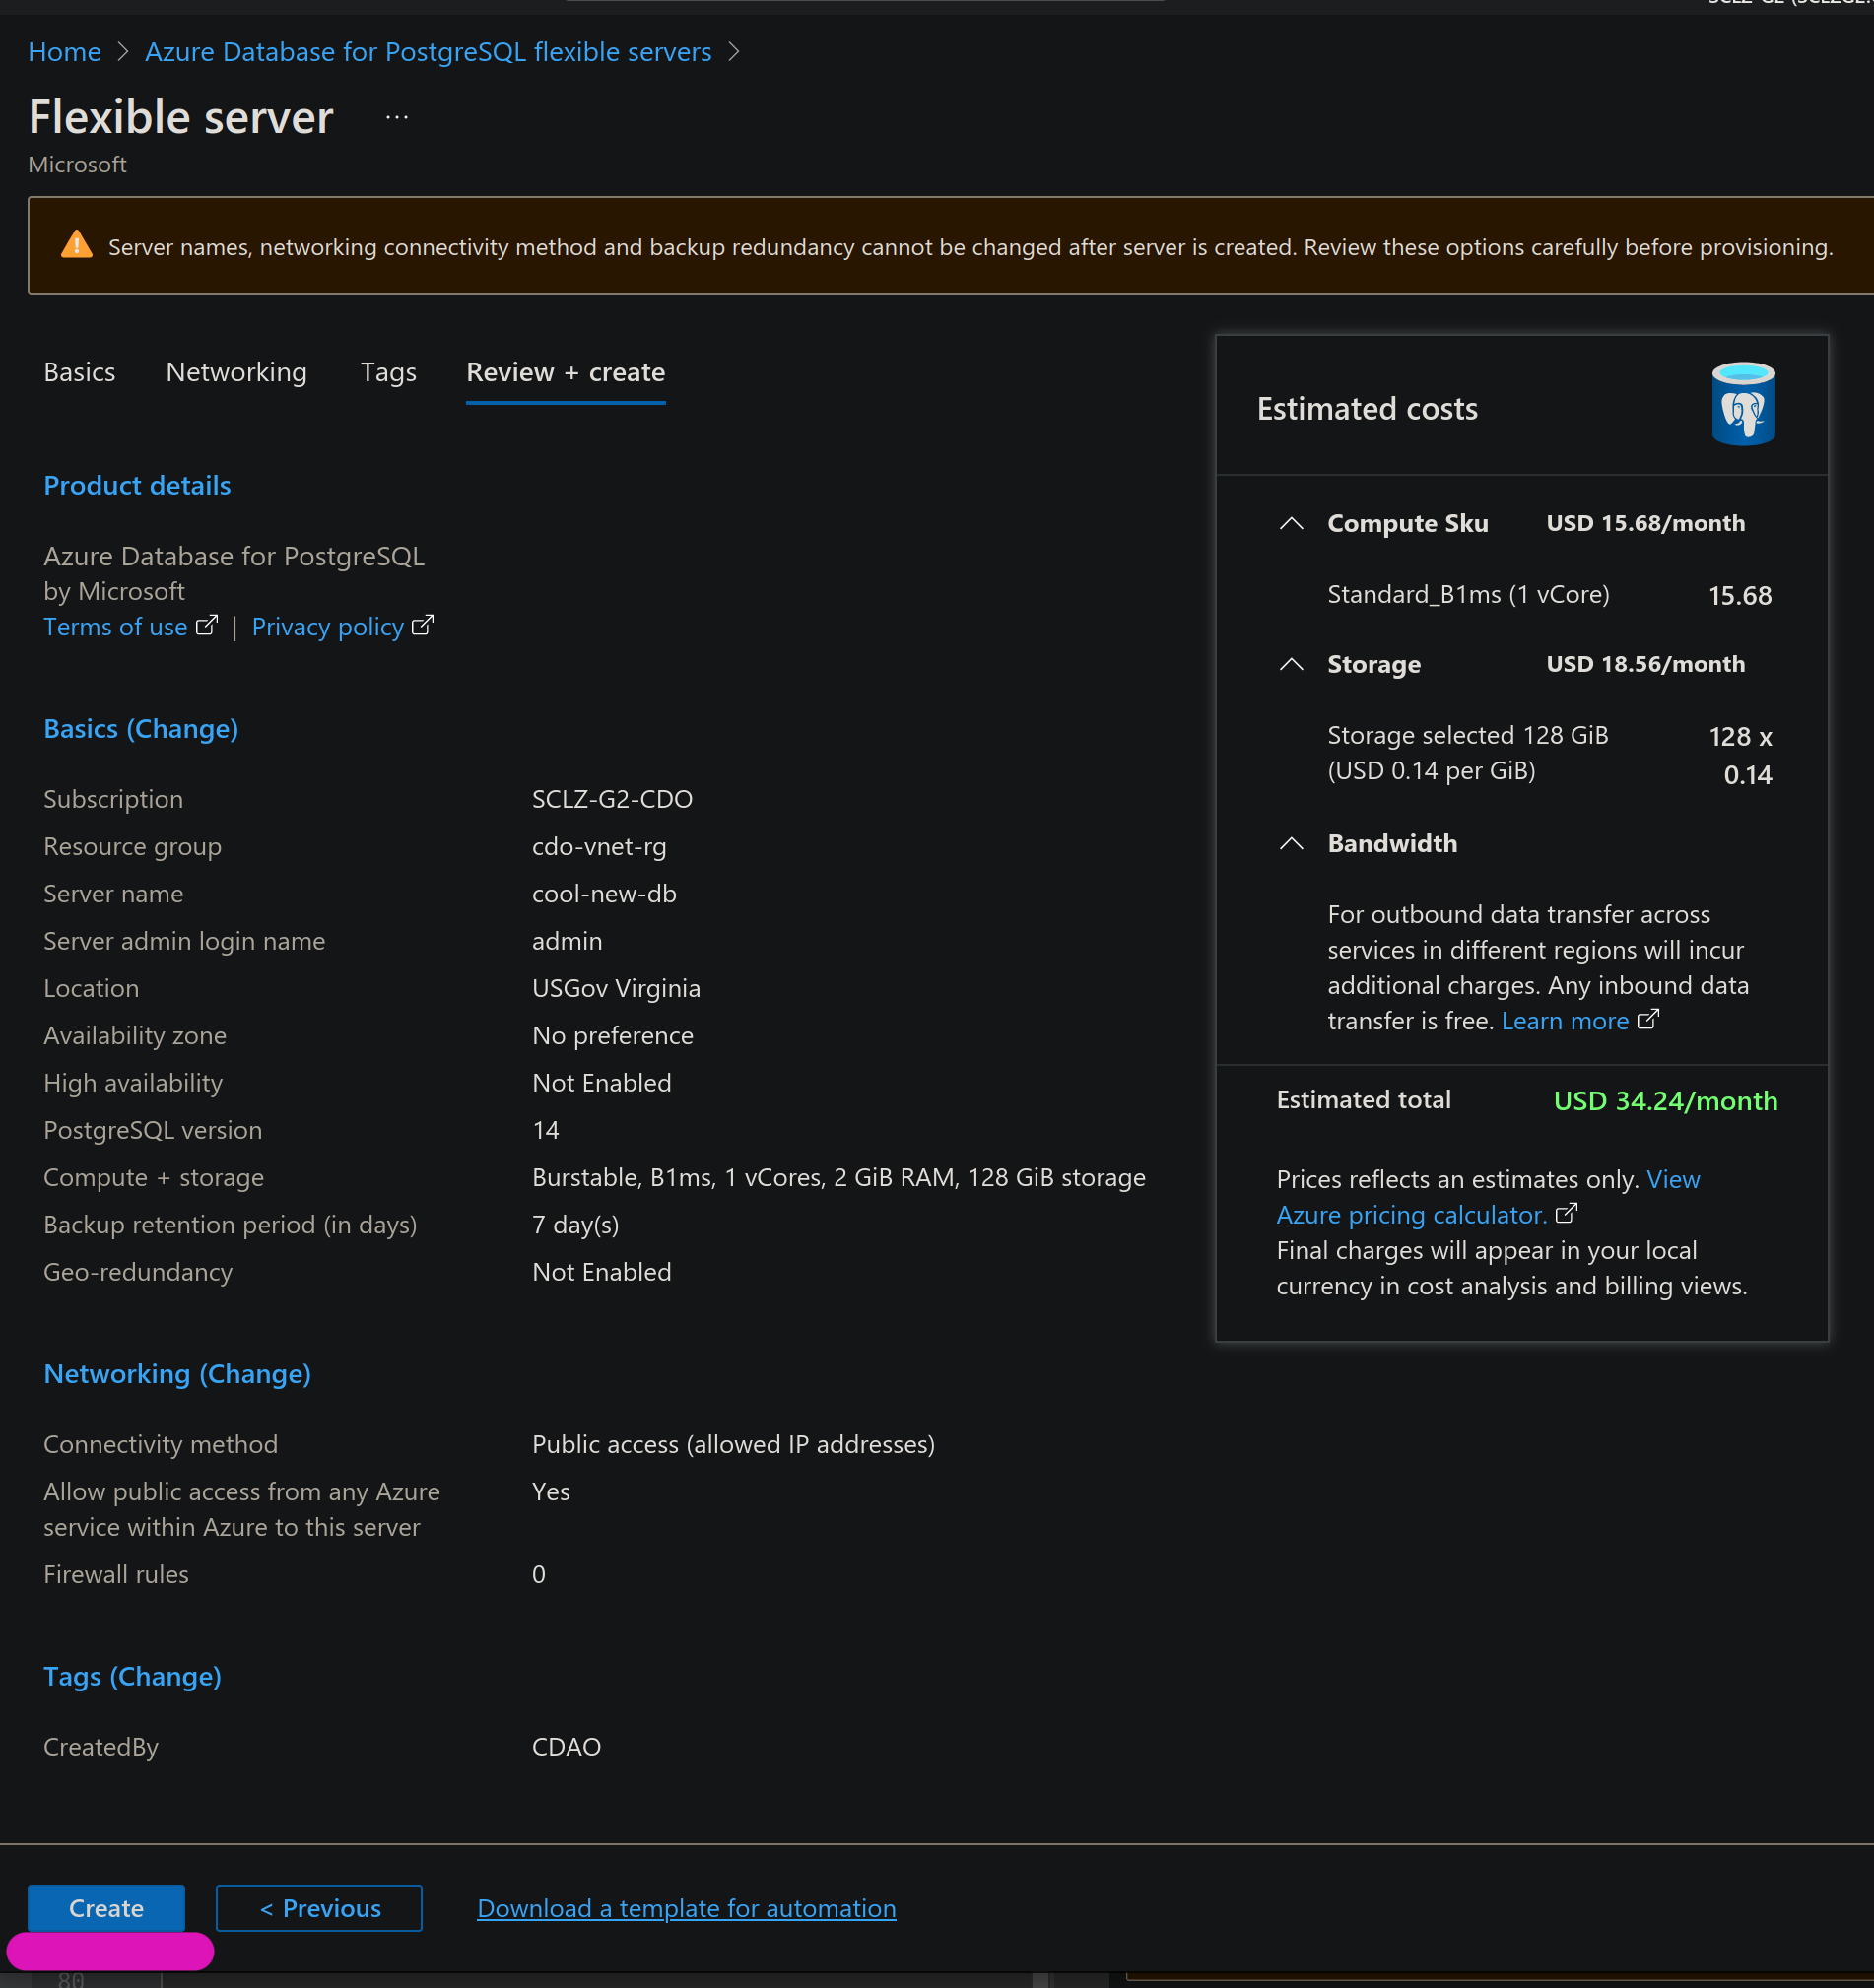
Notice the costs!?
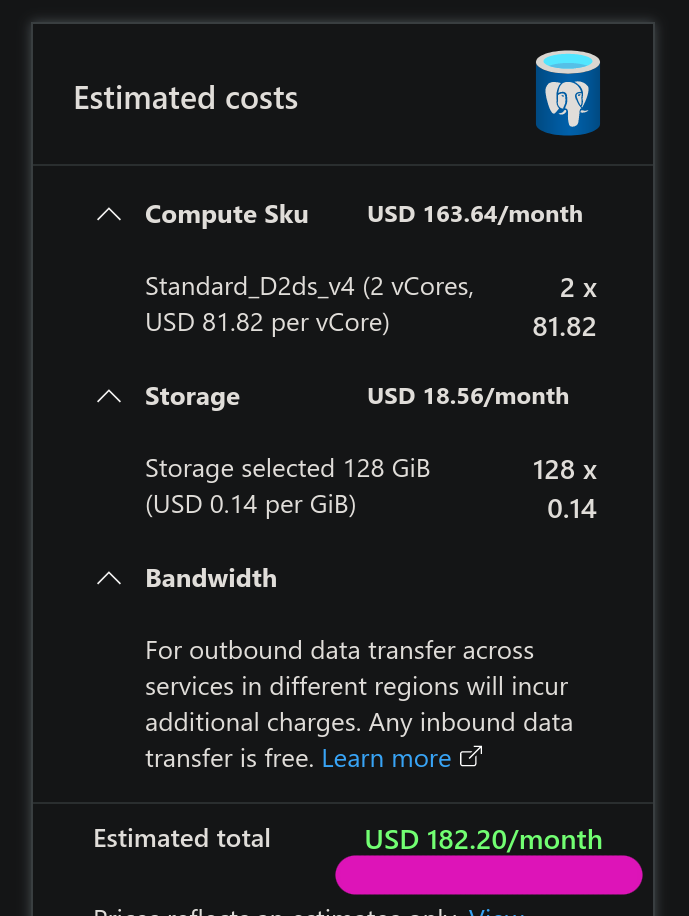
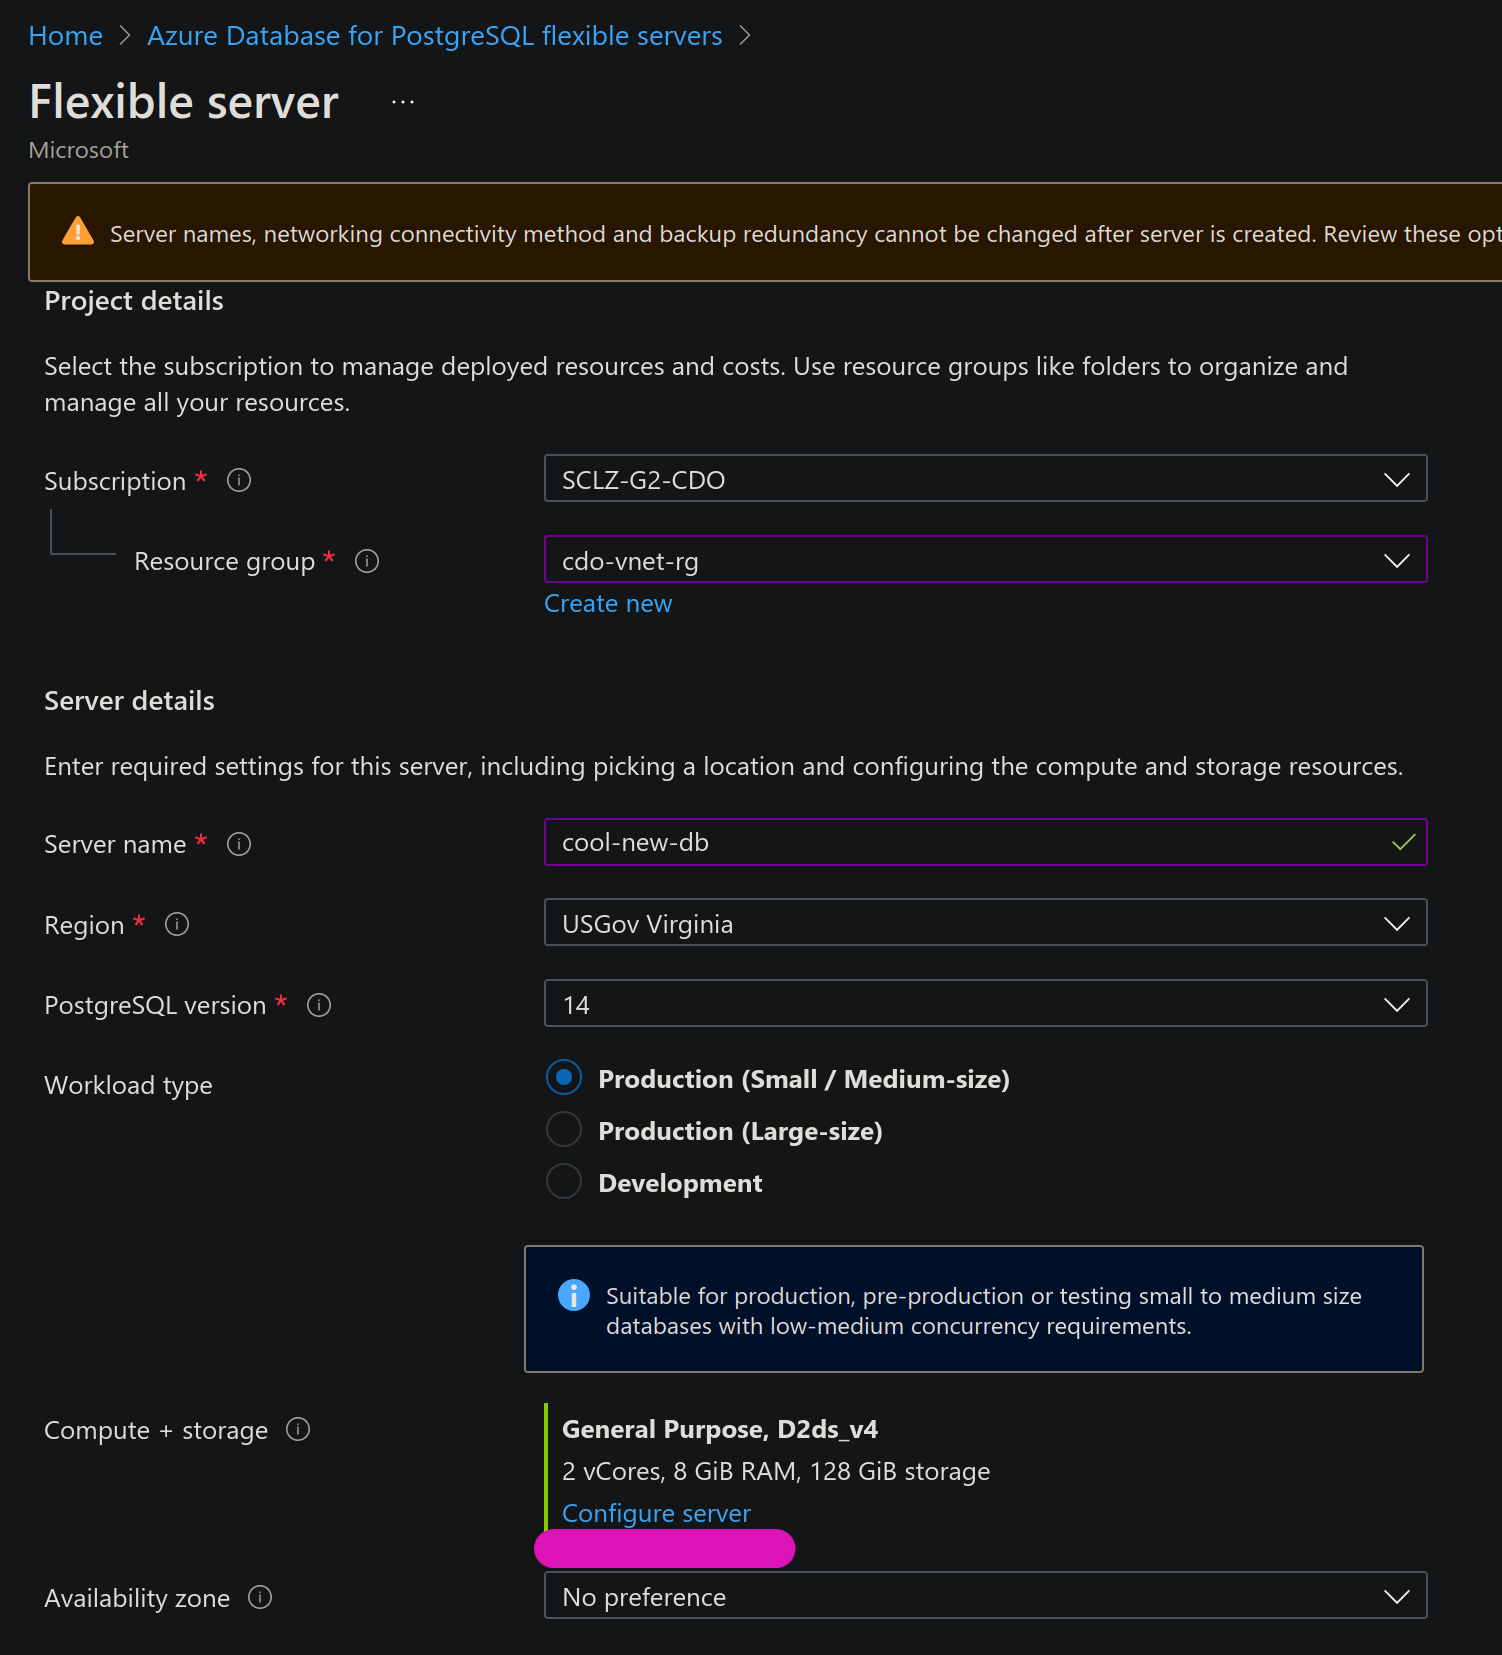
That’s too rich for our blood. Let’s resize accordingly. Back on the form, select the Configure Server link
Configure to your liking/requirements
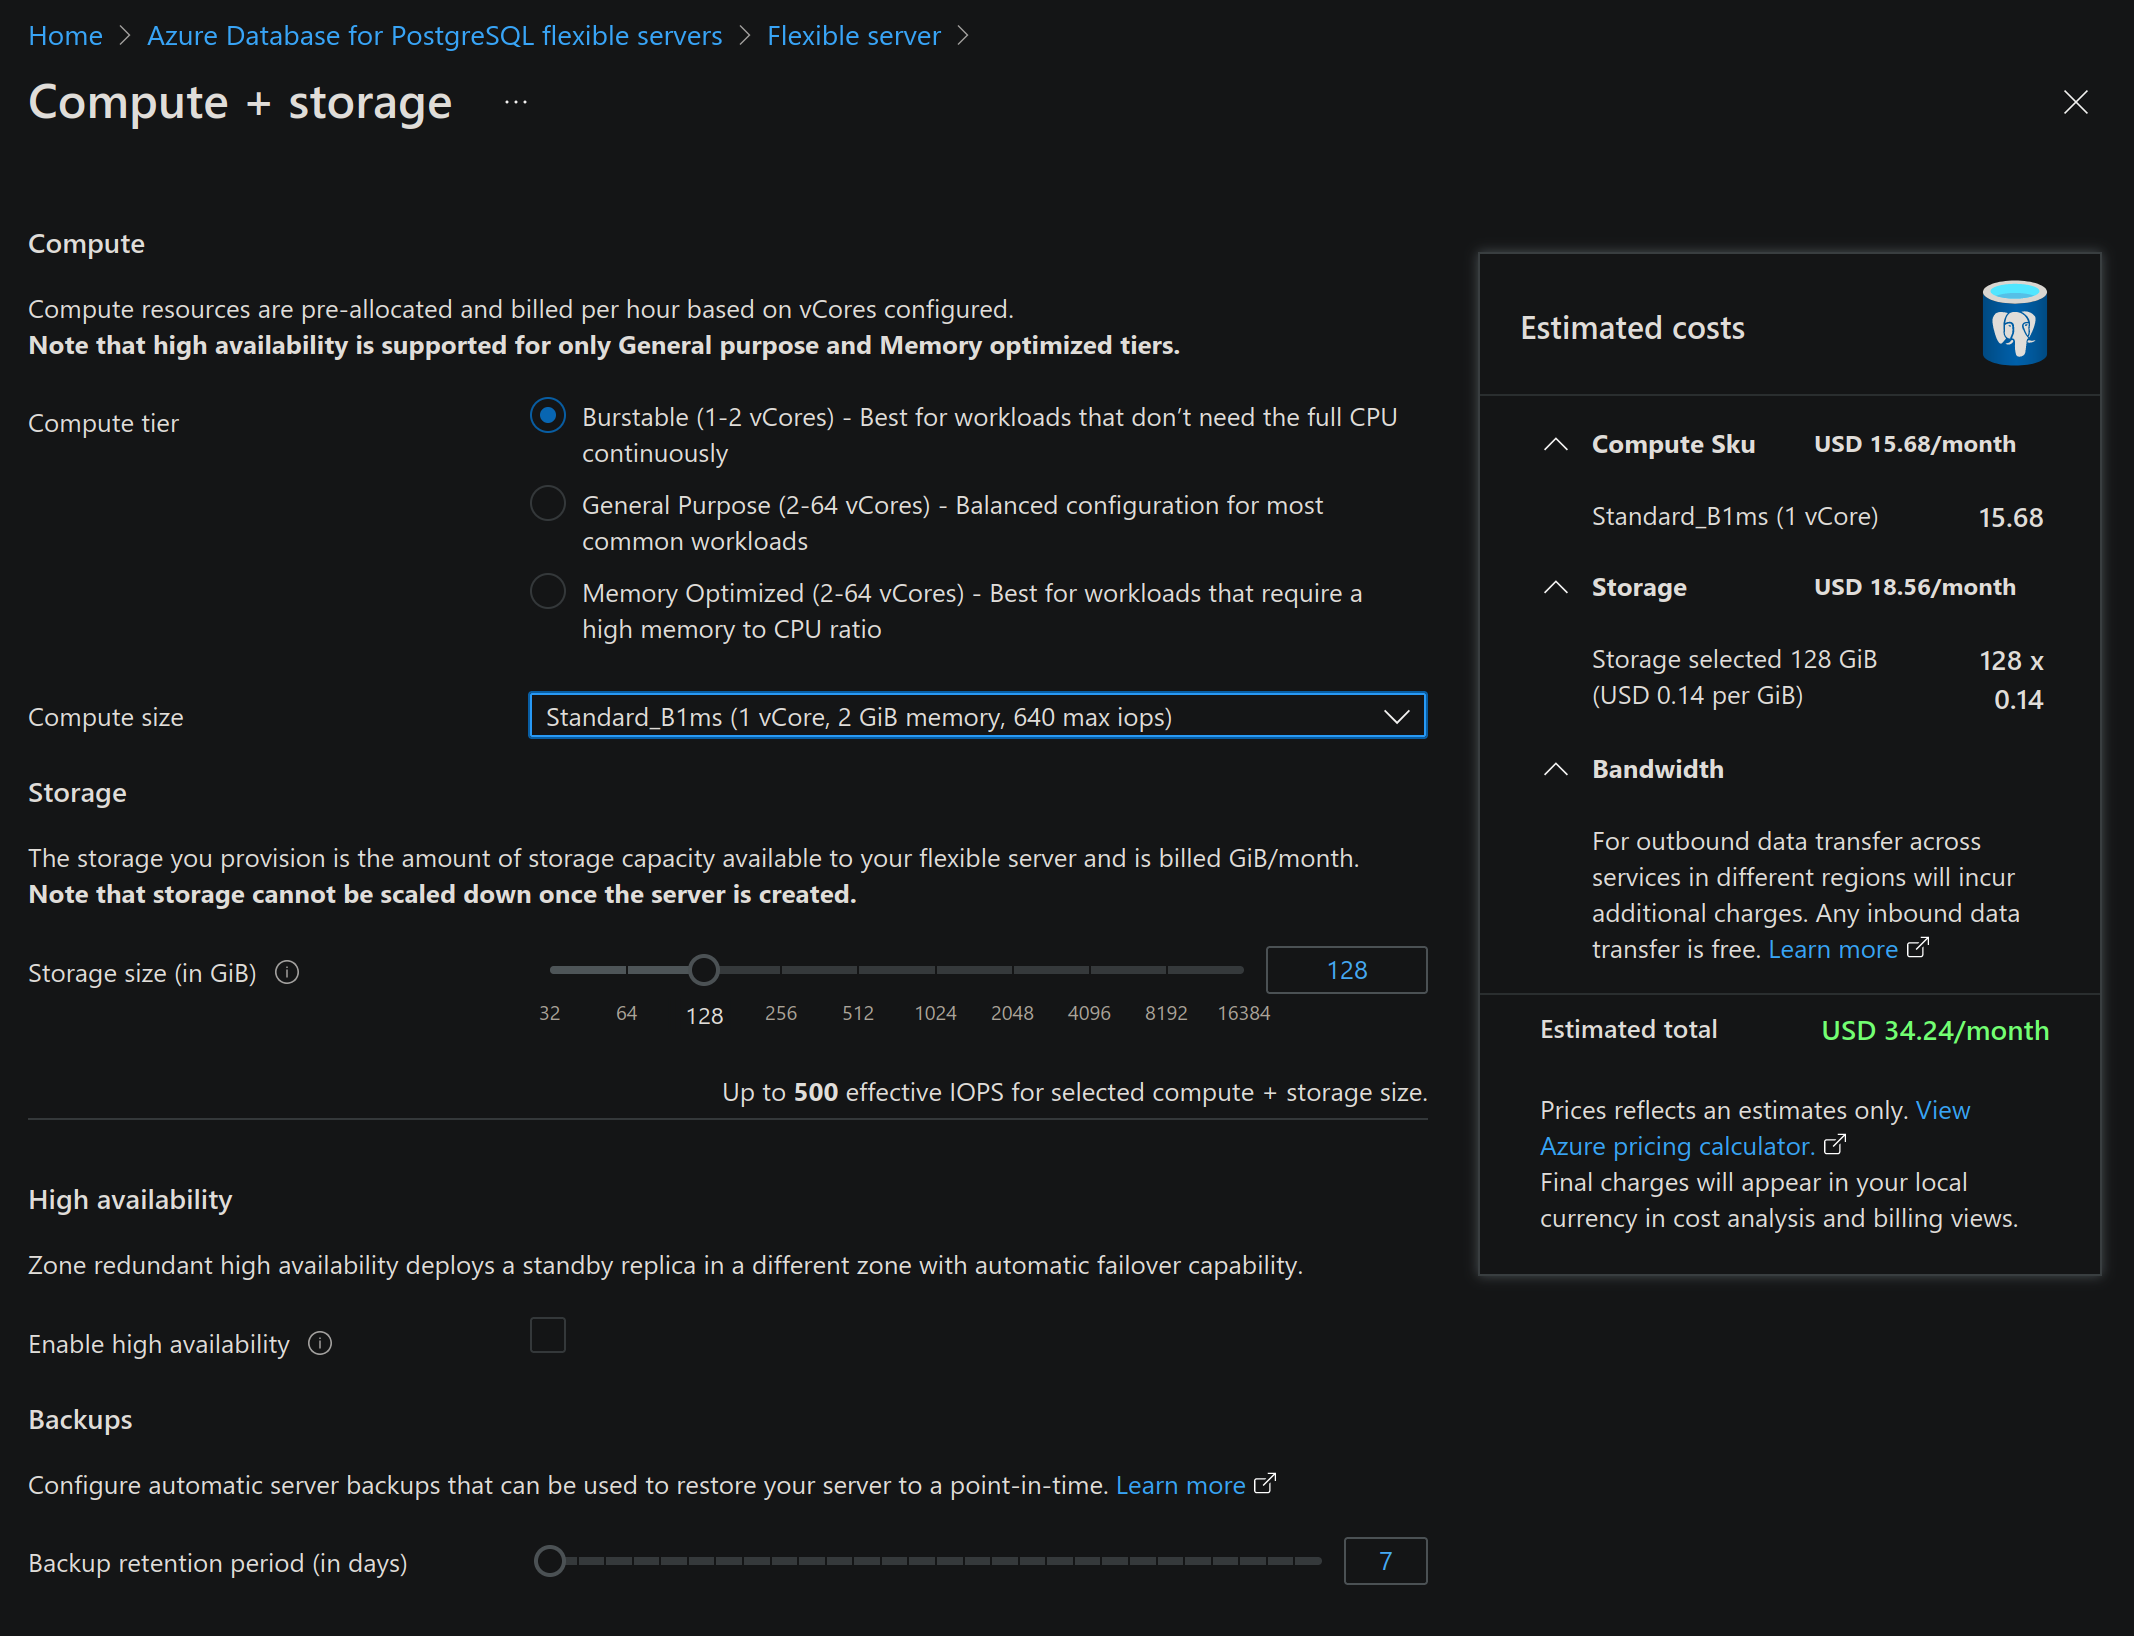
$34 seems more reasonable.
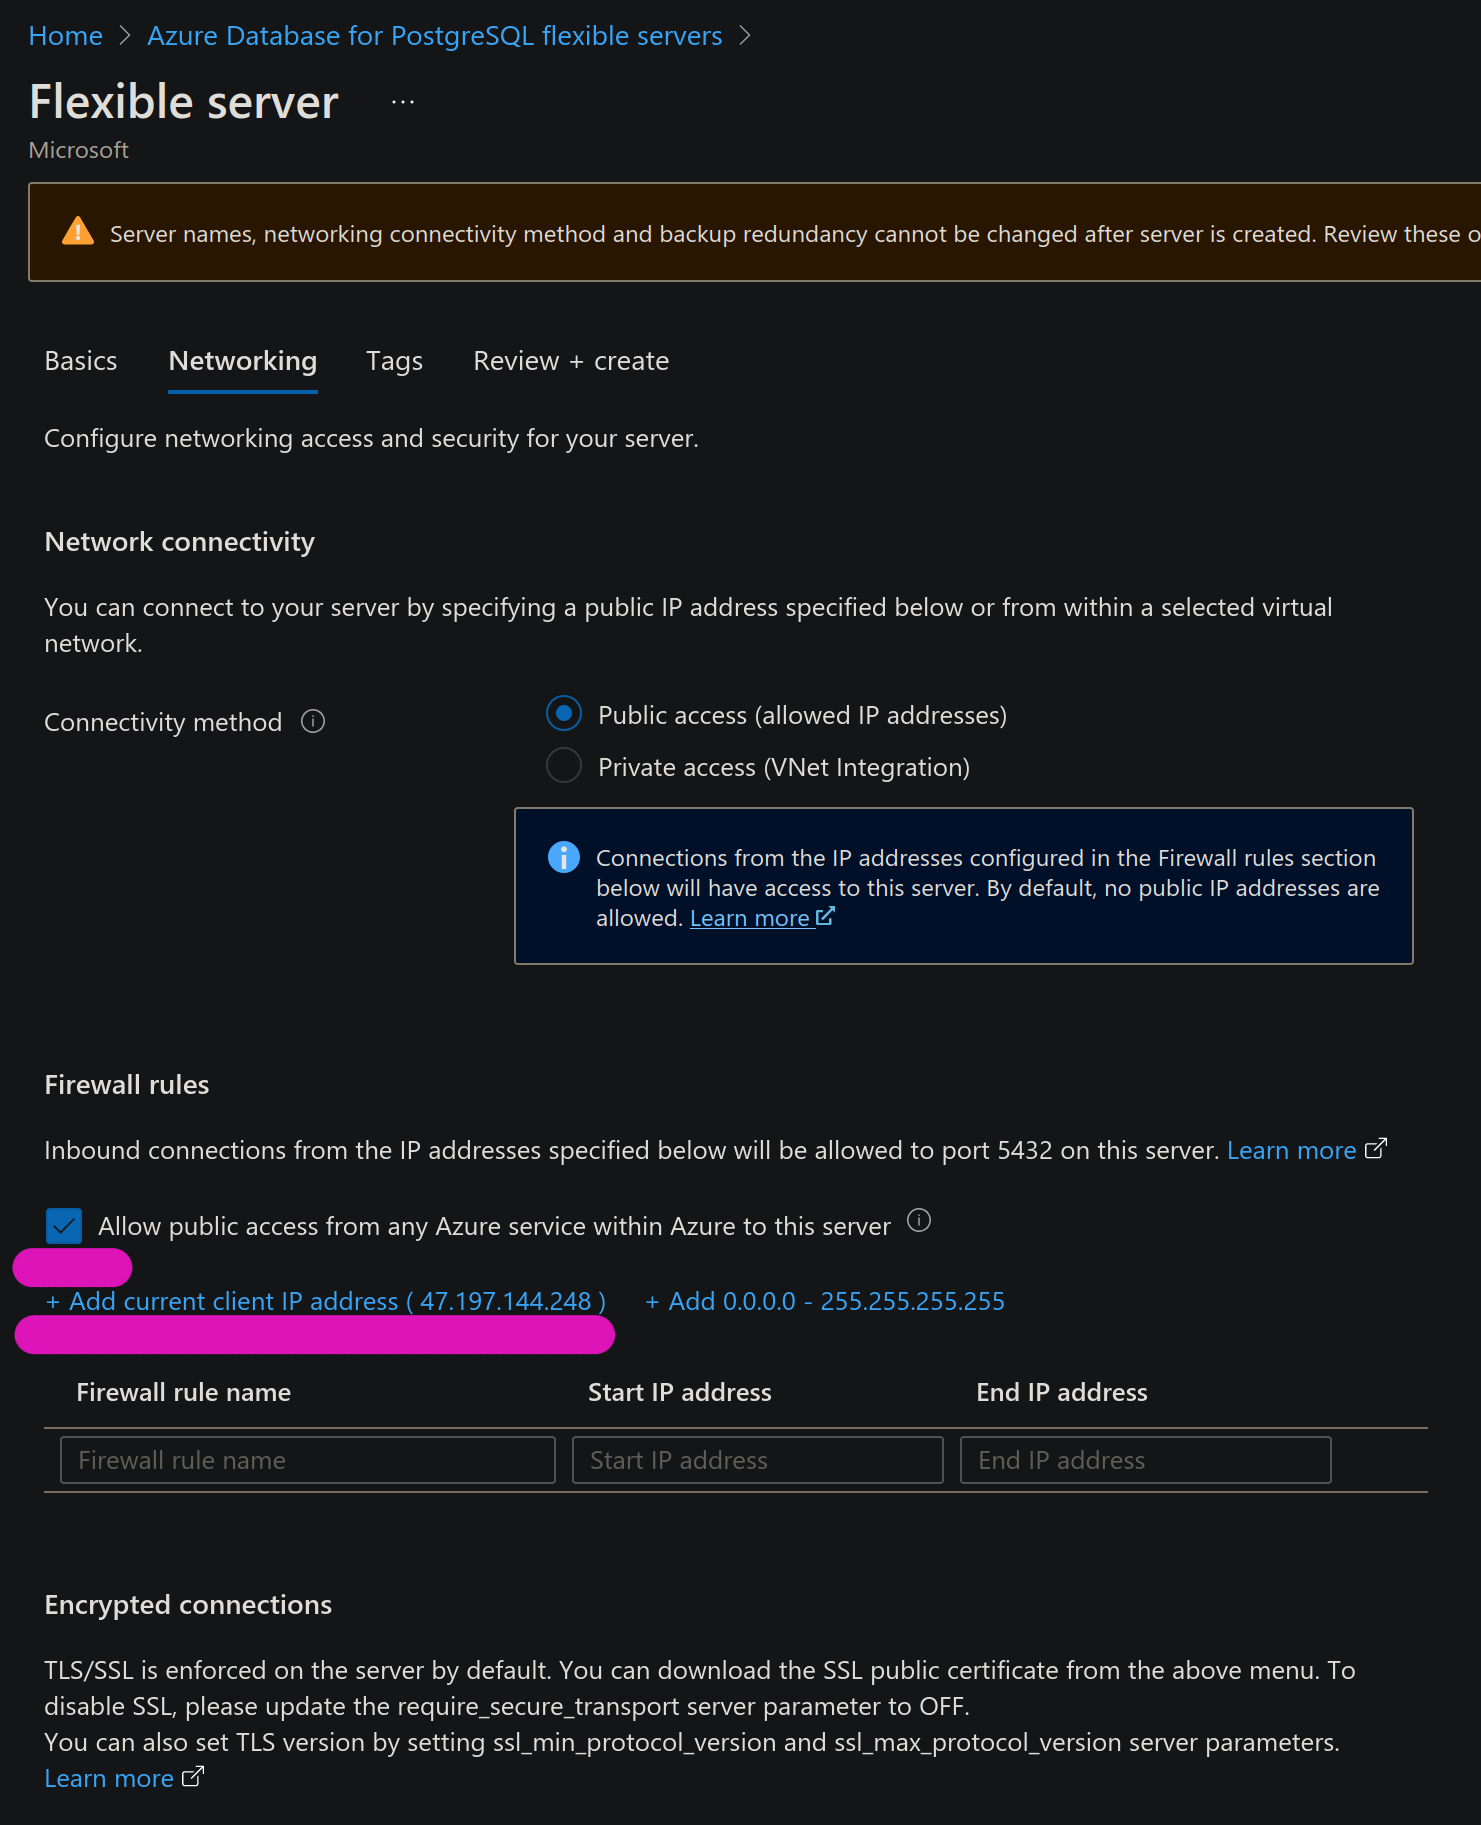
Select Next at the bottom to move to the Network Setup
While here be sure to select Allow public access from any Azure service within Azure to this server and the Add current client IP address ( YOUR-IP-HERE )
The last step is to tag and create
You newly provisioned db will be listed. You can click the name for more db settings
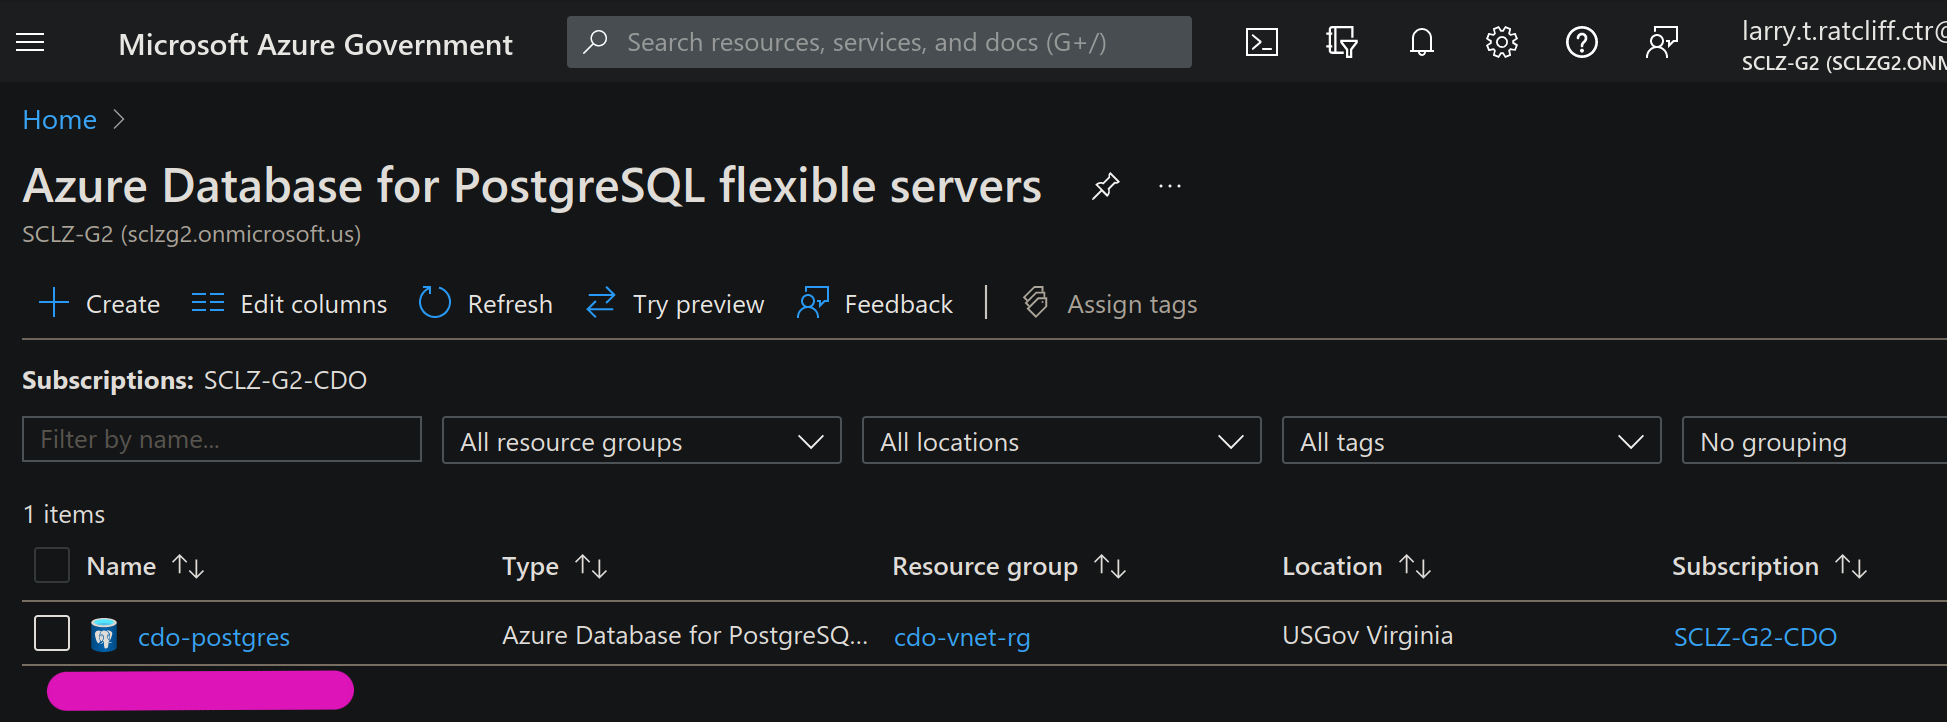
We’re good on the DB for now :thumbs_up:
Azure Container Image Registry setup
Search for and select Container Registries
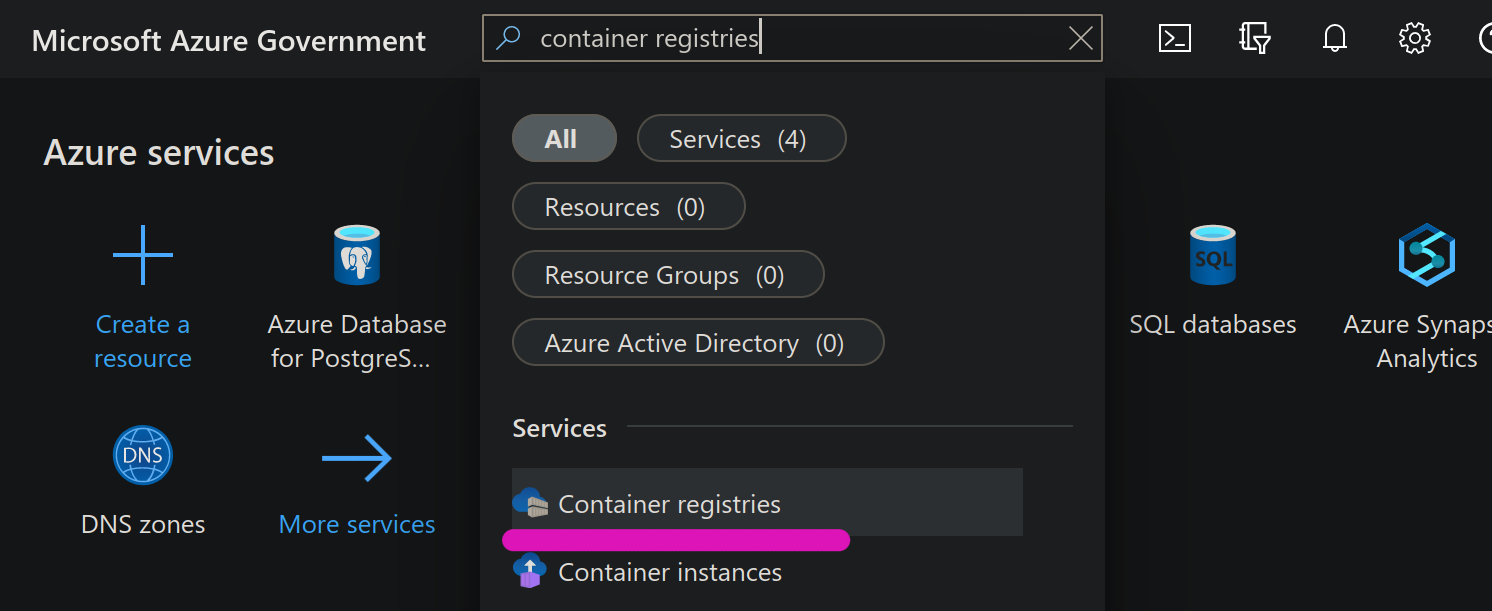
Select Create
Fill out the form and Create
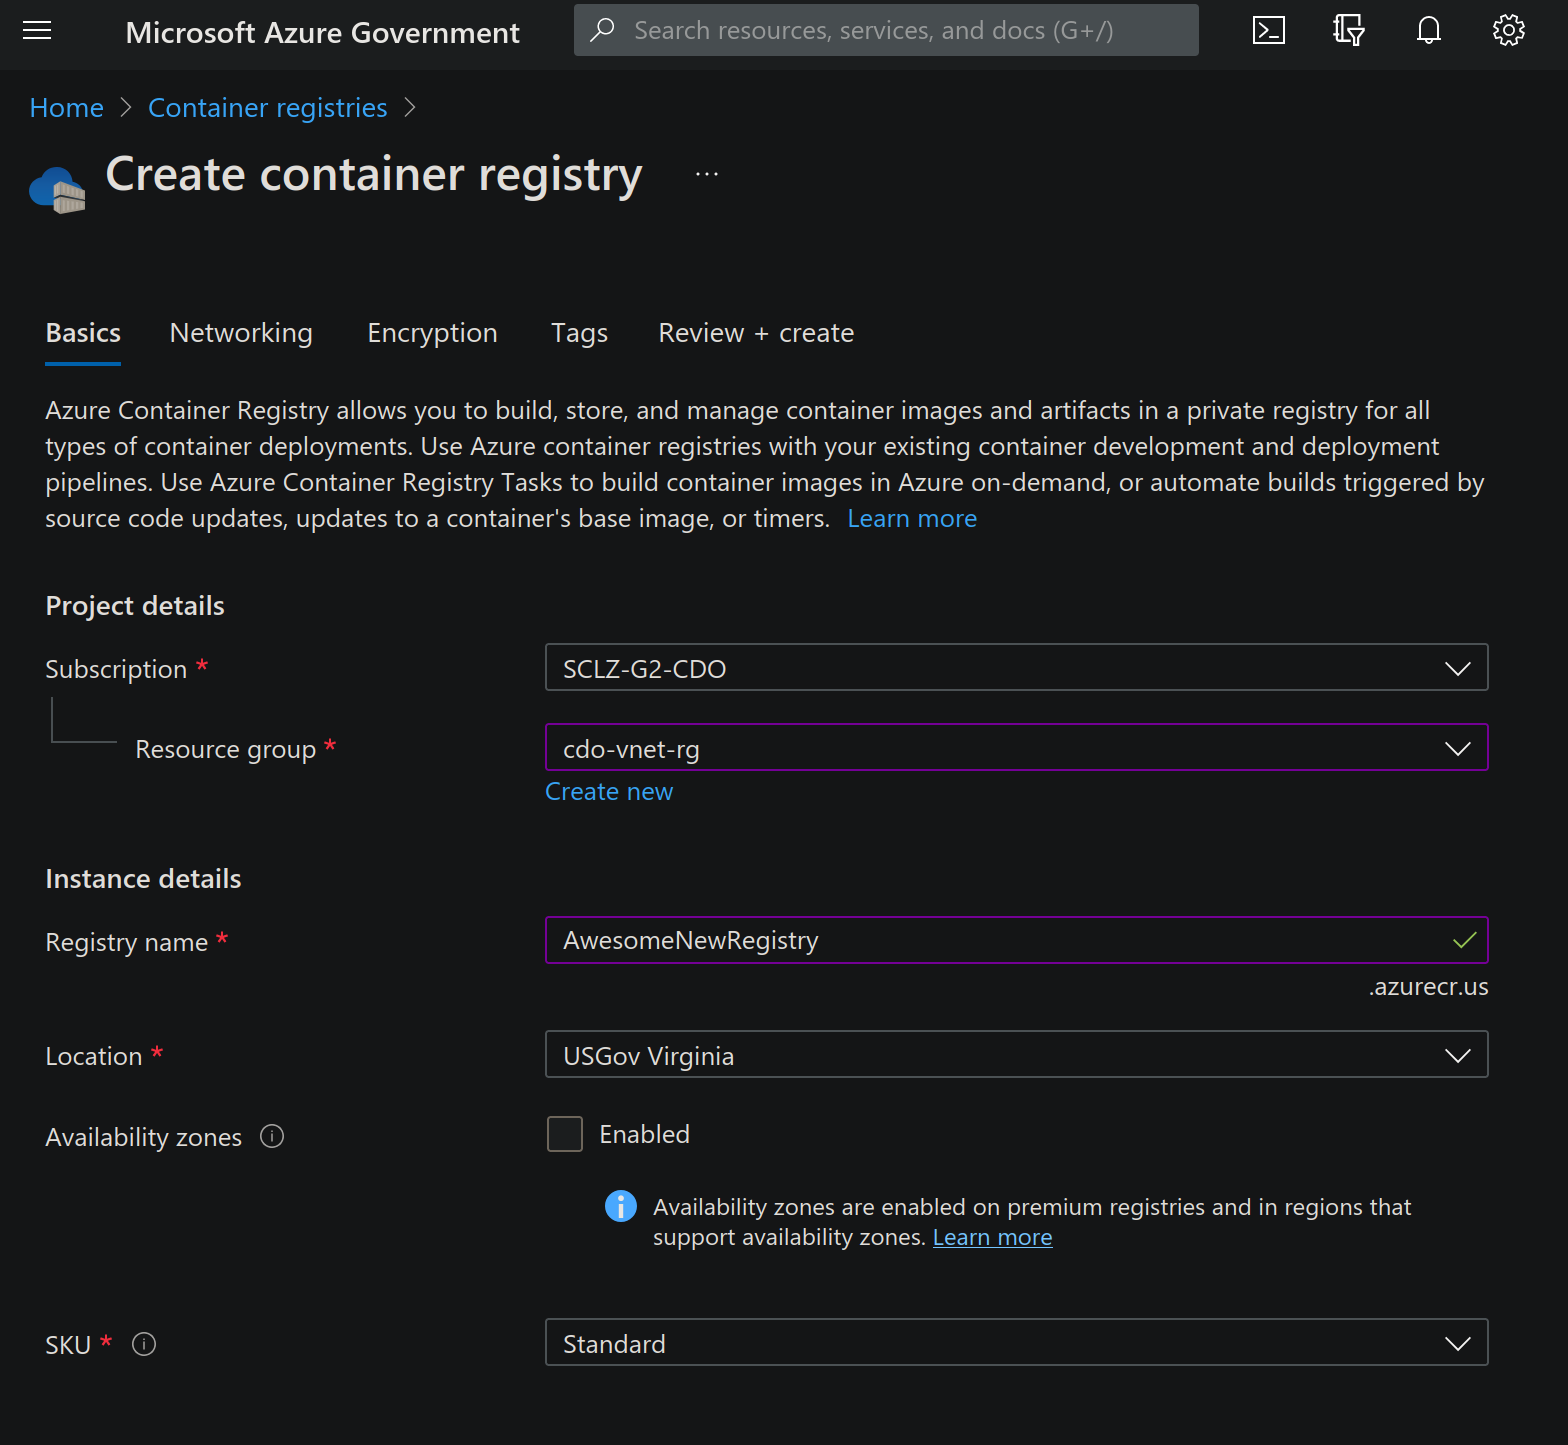
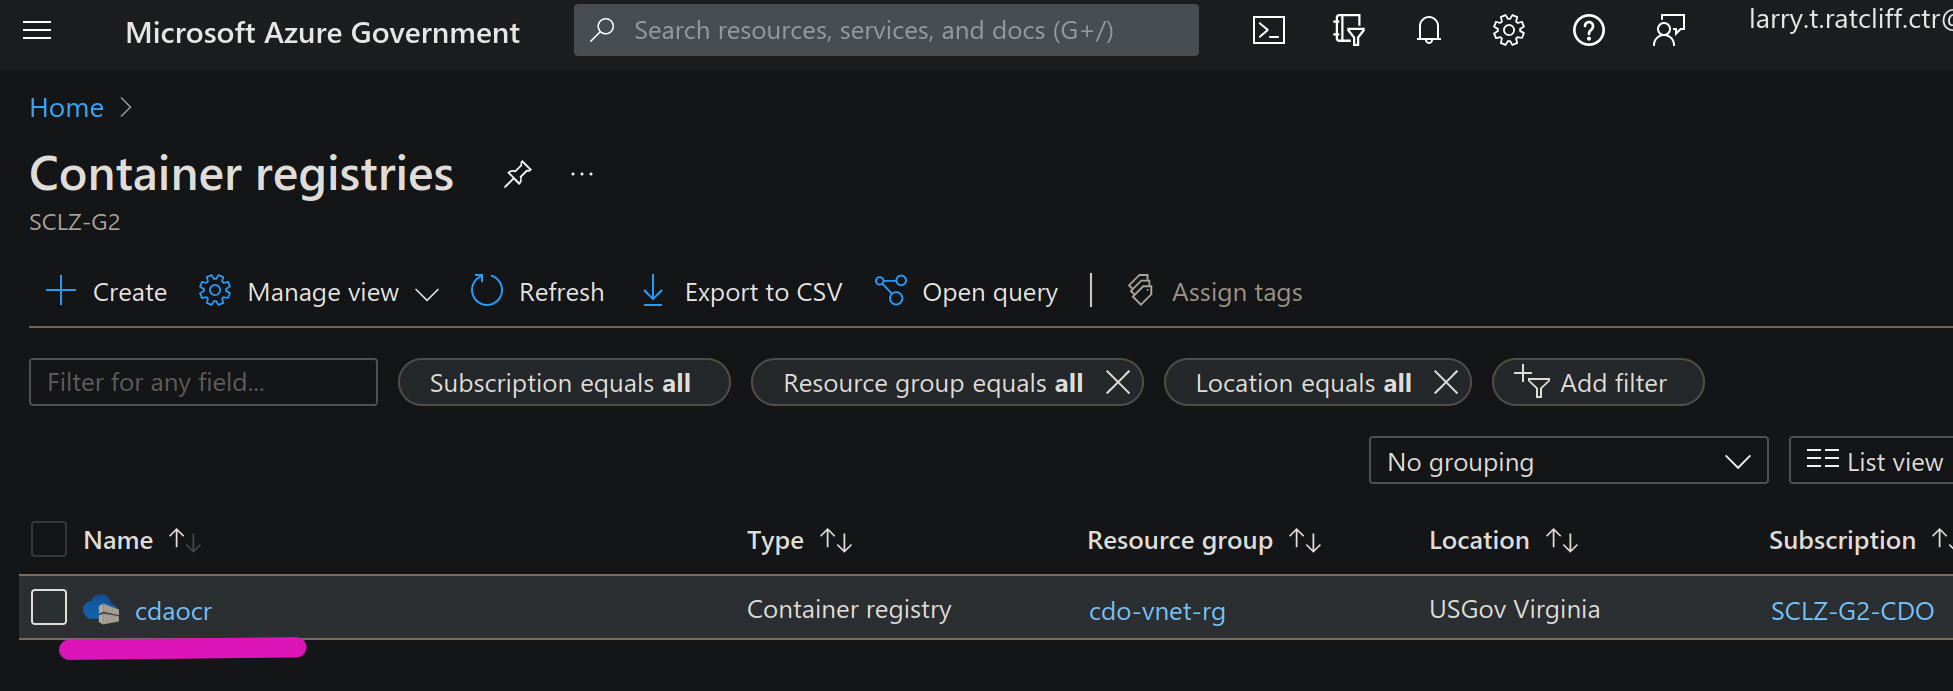
You can select you new registry name link
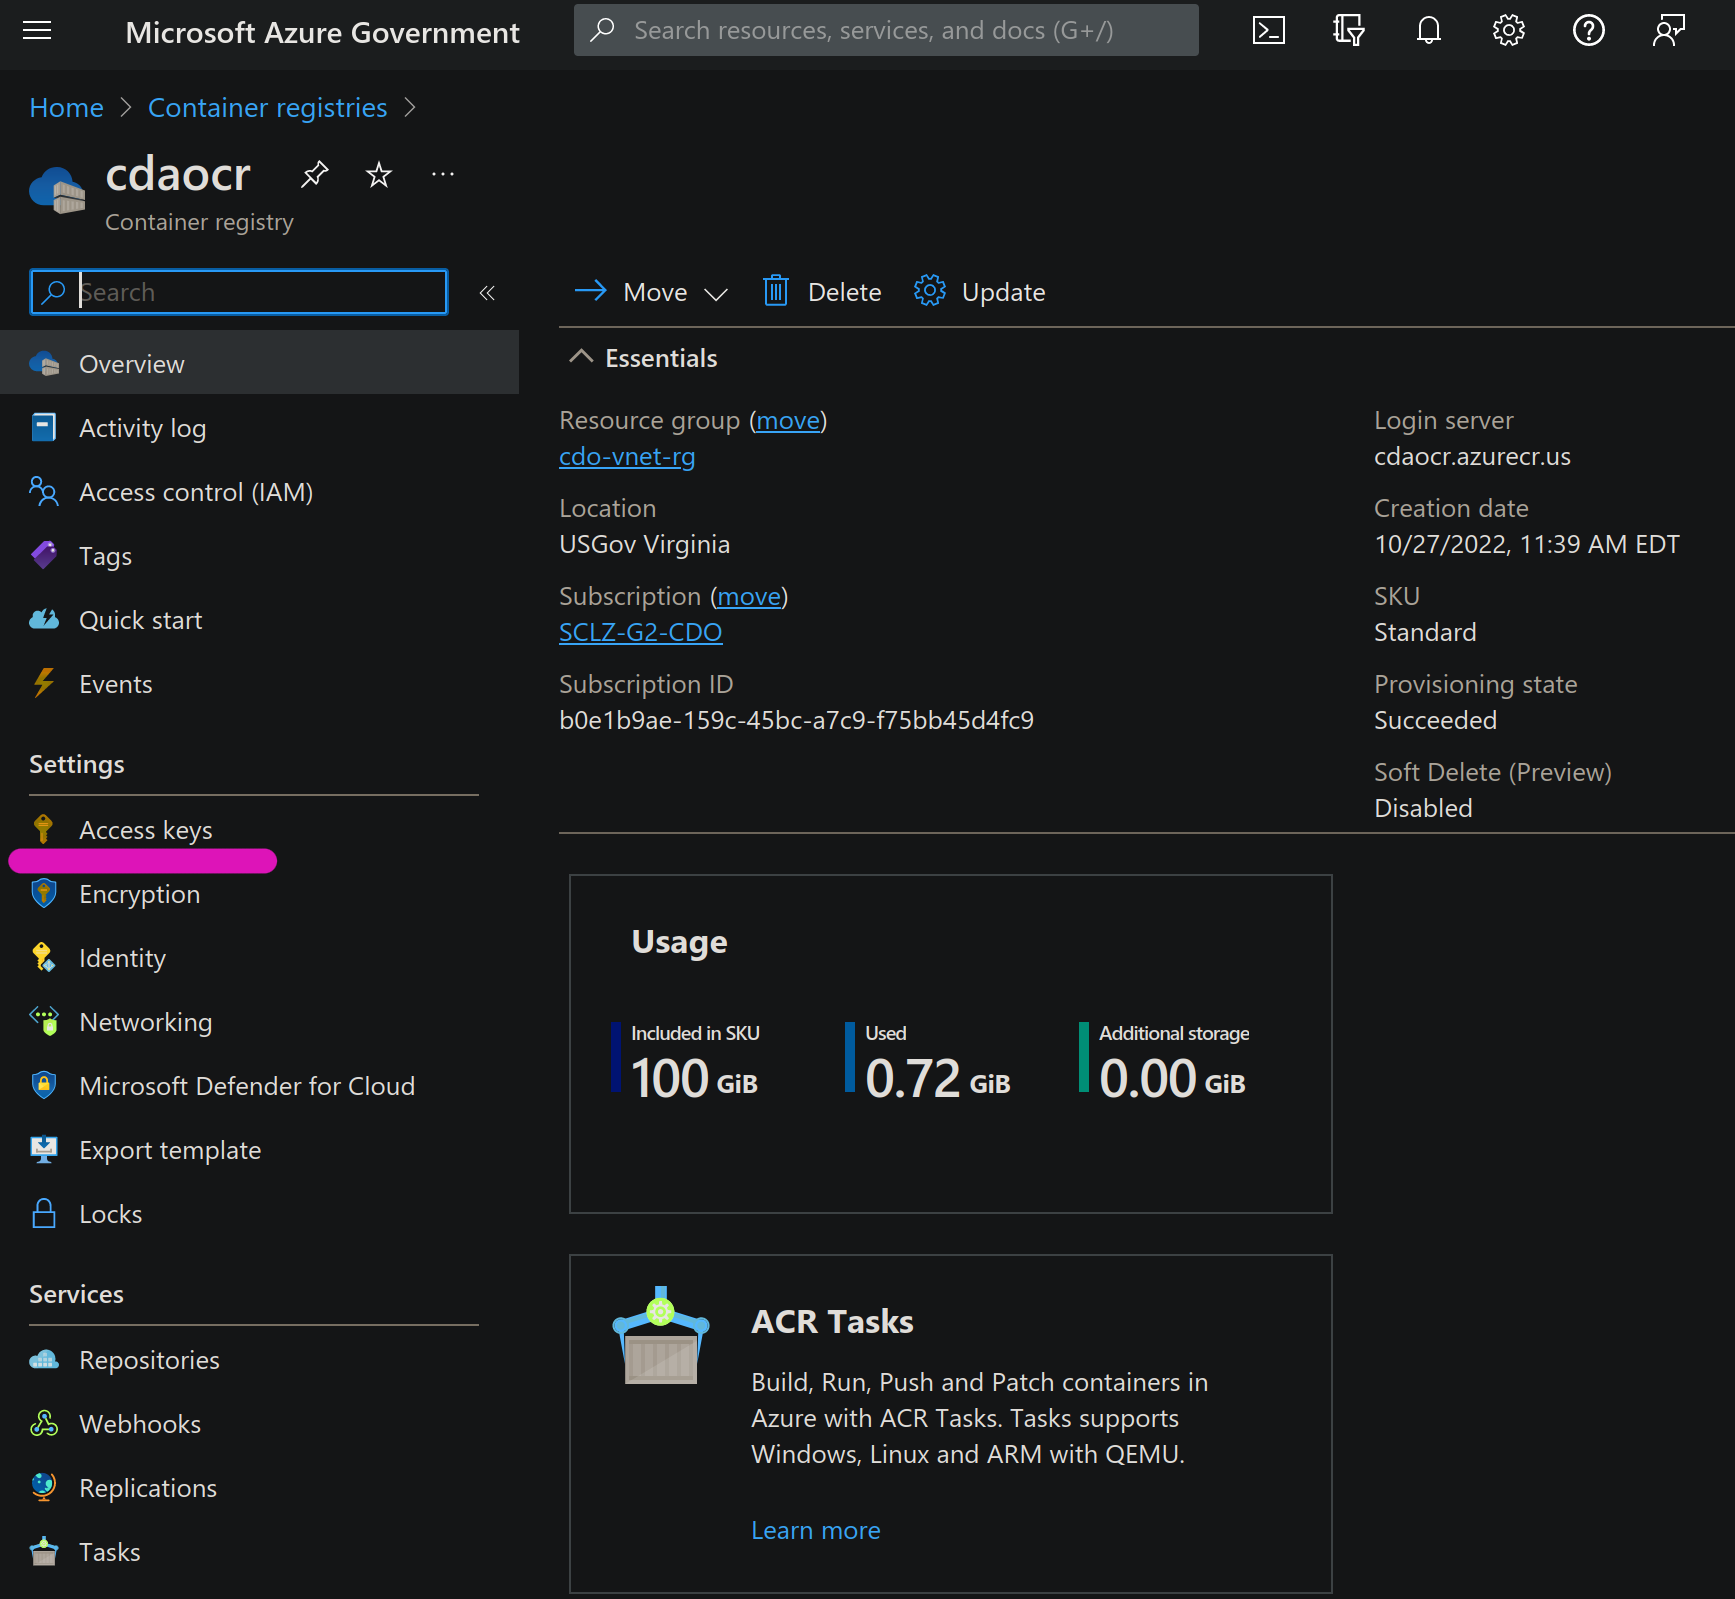
In your Container Registry View, select Access Keys
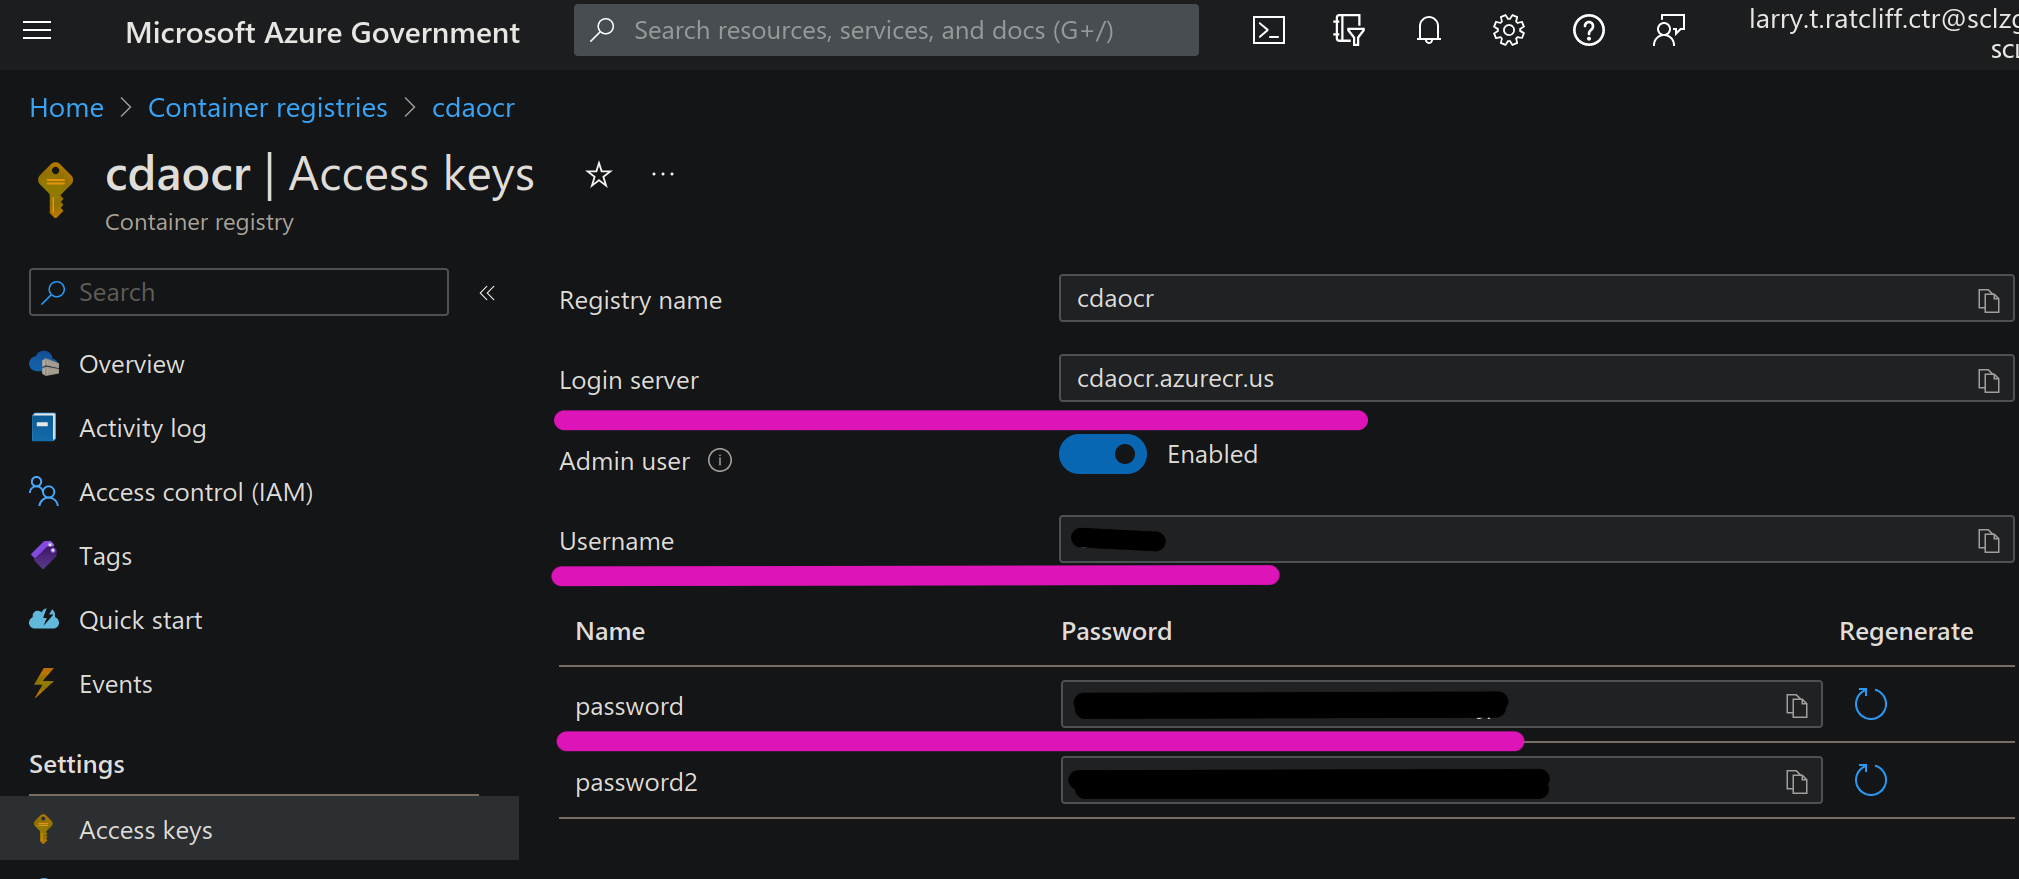
Take note of your Login Server, Username and Password (We will need these in the next step)
Retag image and Push to Registry
Get the container image name/hash then tag with registry name
#Get image checksum
docker images
#Tag image with new registry and version
docker tag c4895ac4b118 cdaocr.azurecr.us/data-path-discovery-web-app:1.0.0
#Log into registry with Username and Password from above step
docker login cdaocr.azurecr.us
#fill in prompts
#Push image to regisry
docker push cdaocr.azurecr.us/data-path-discovery-web-app:1.0.0
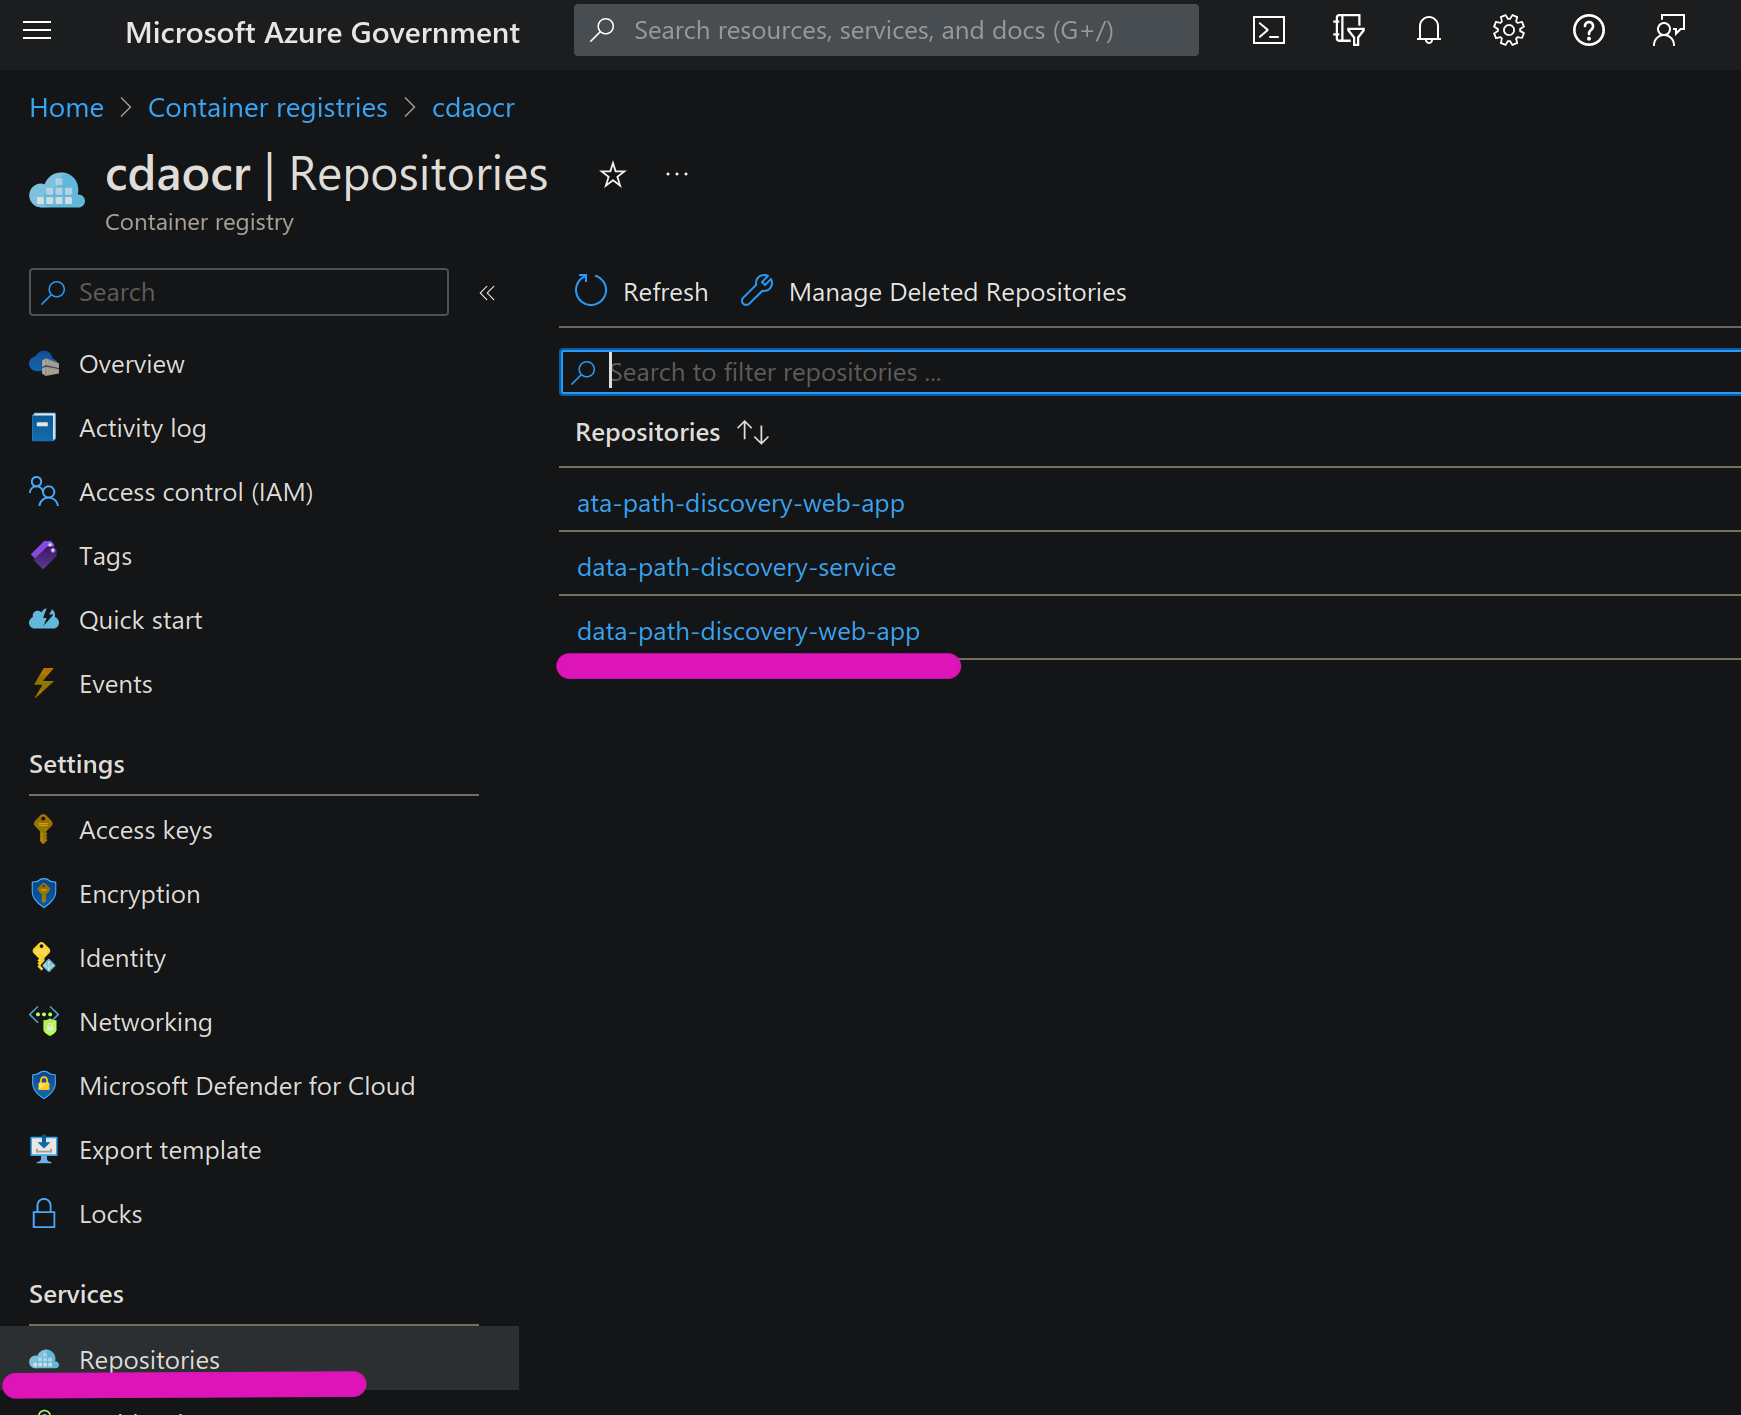
Check out your new image in the registry
Azure App Service Creation
It’s Timeeeeeeeeeeeeeeee! We’re finally ready for the final steps for deployment.
In the Azure Console search for App Services
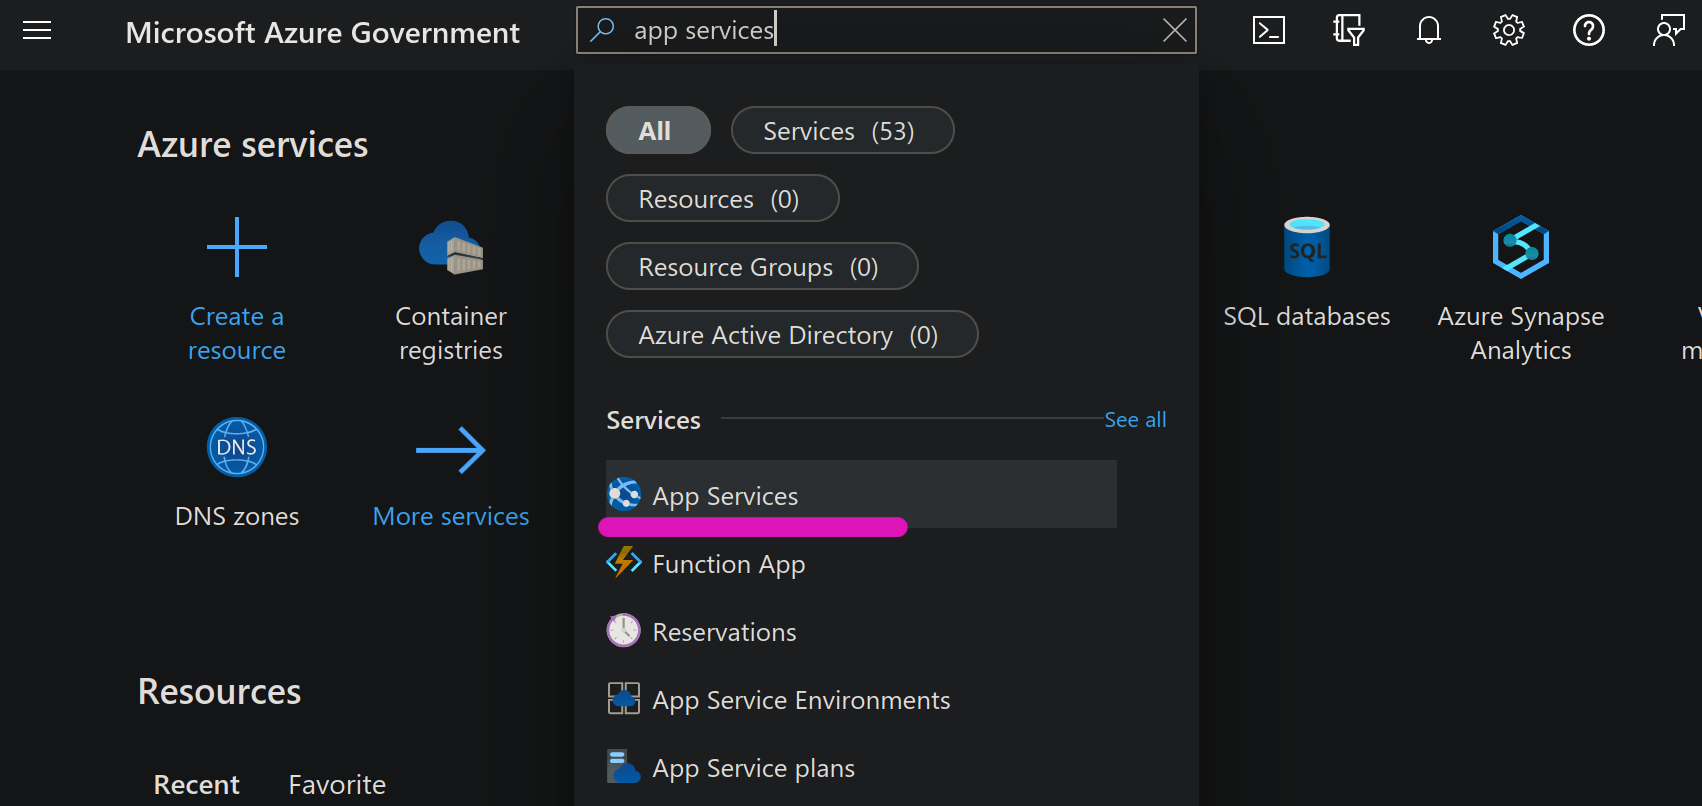
Select the Create link

Fill out the form paying attention to
- Name - Will be the webapp URL
- Publish - Code or Container options
- OS - Linux vs Windows
- Pricing - We can change later
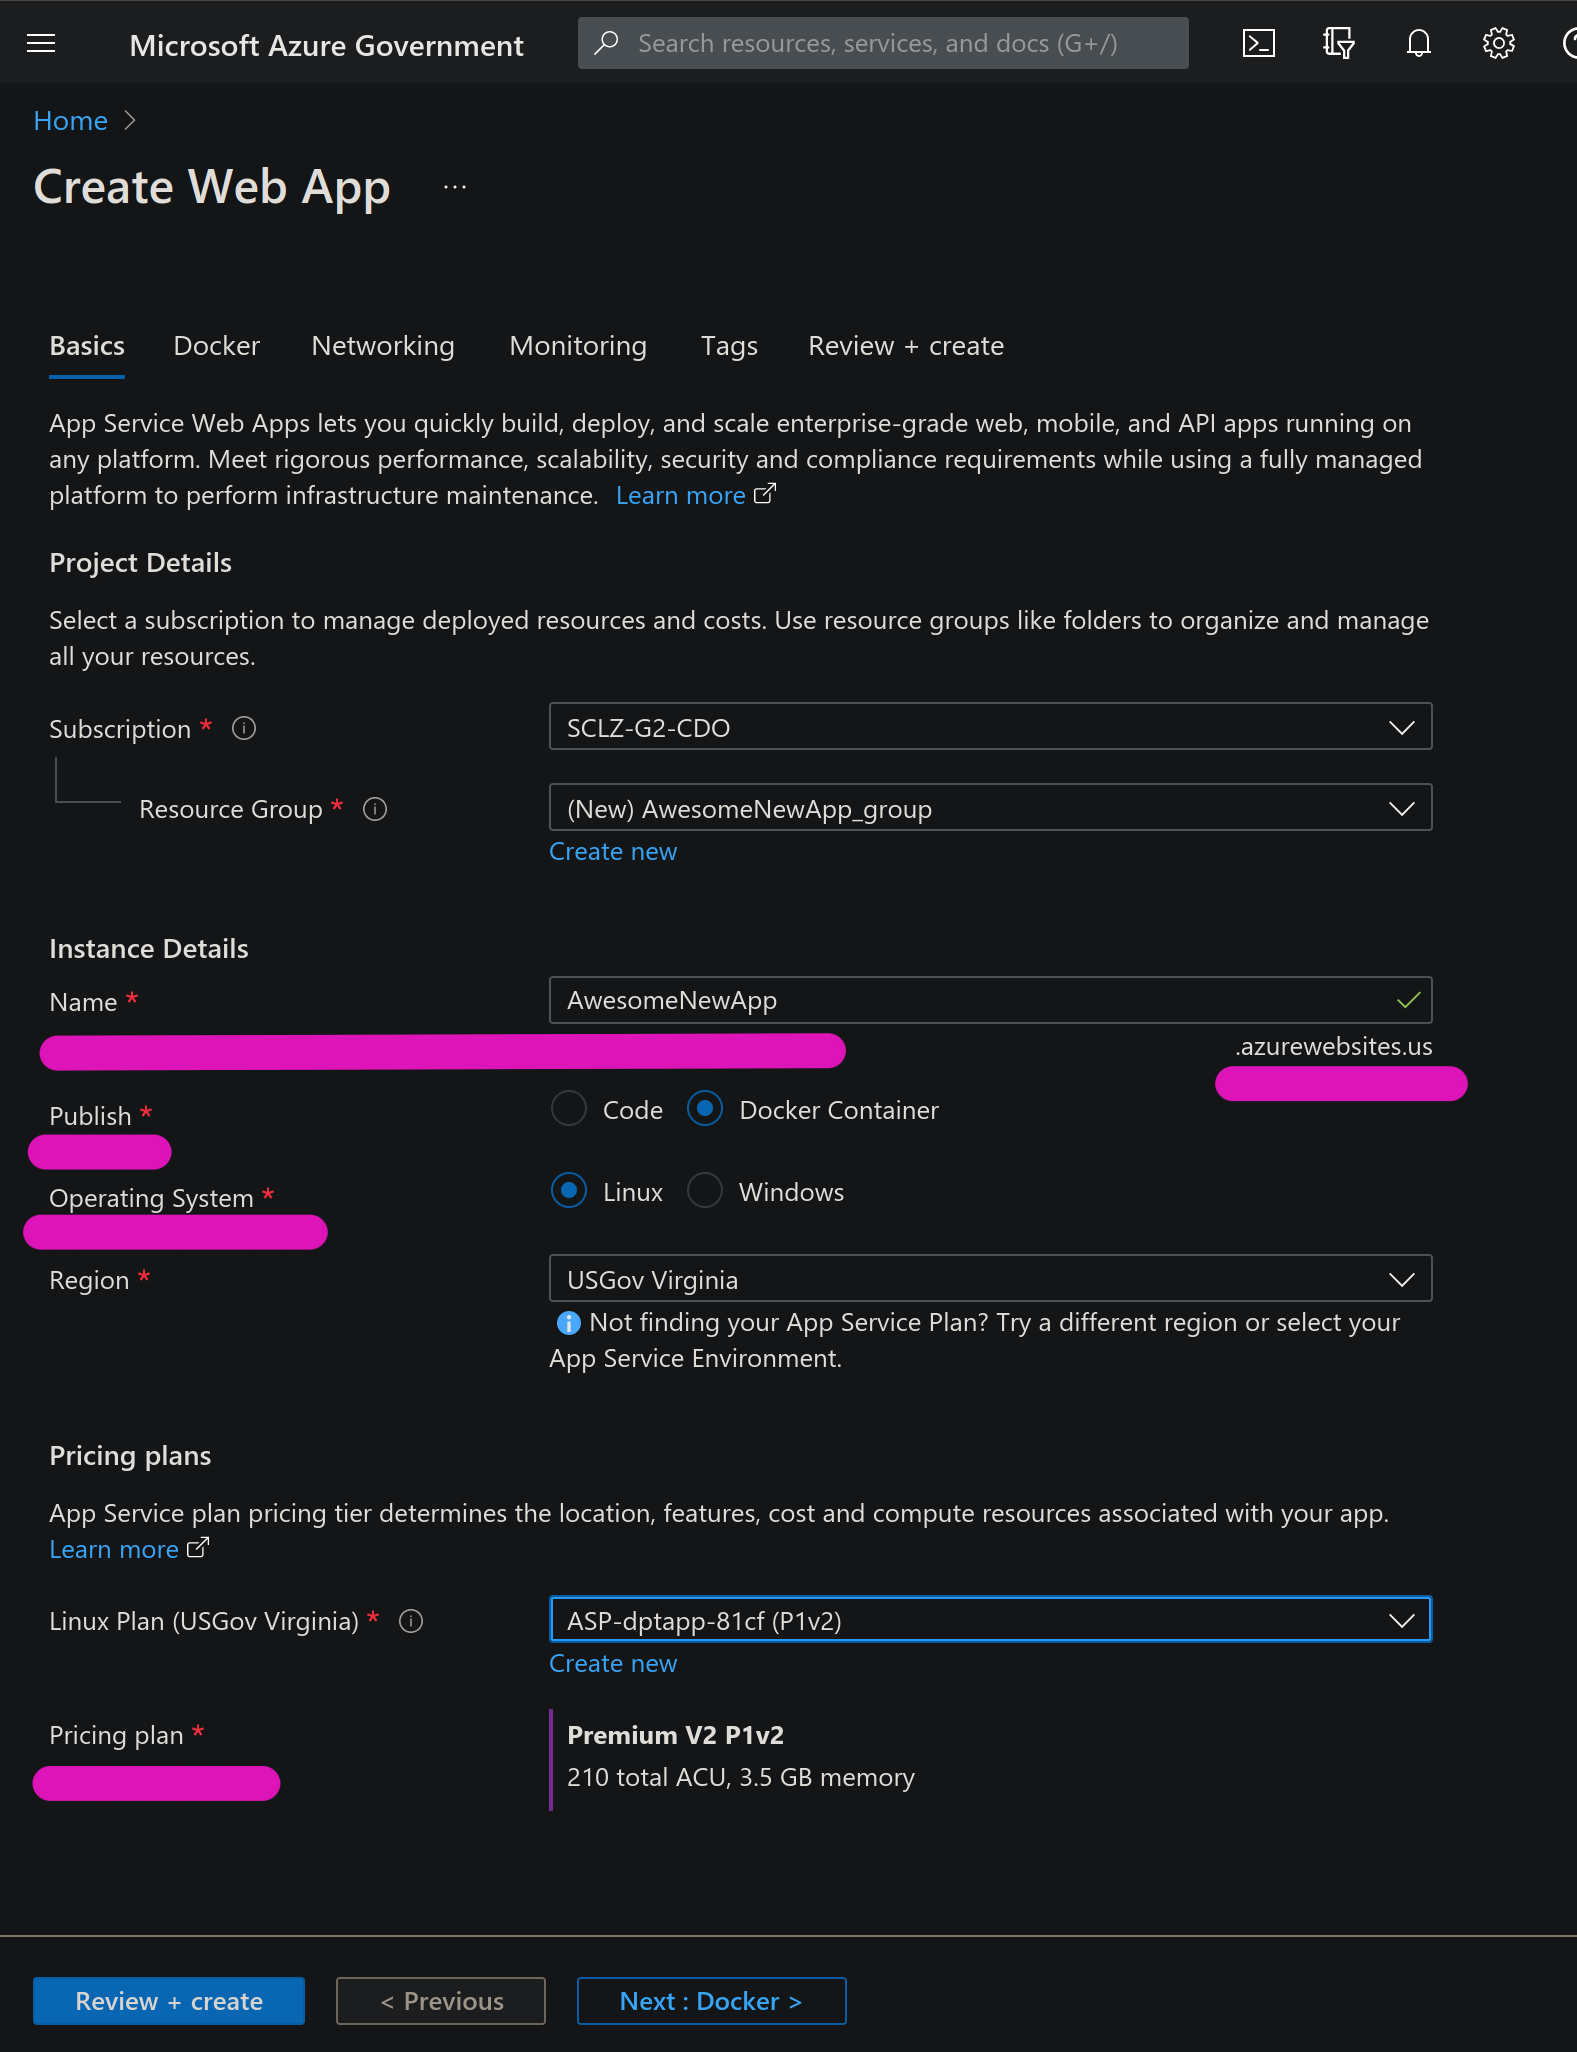
Select Next: Docker
Fill out the form, selecting the registry and container image we pushed above
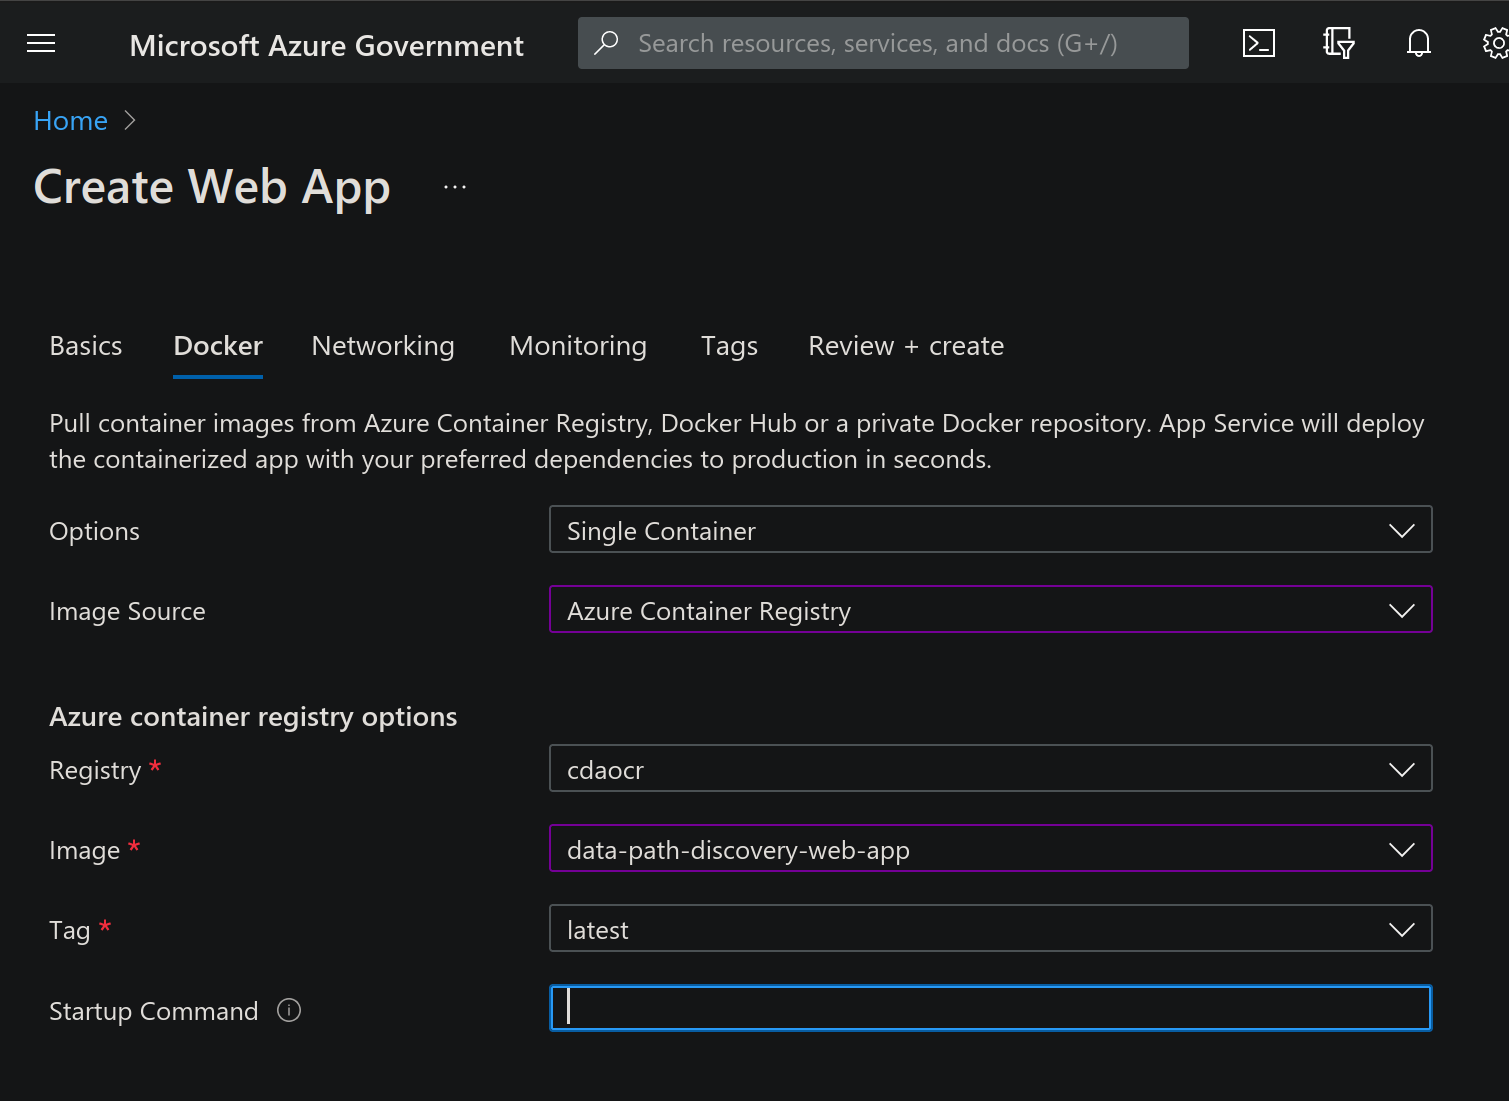
Select Next: Networking and leave Defaults
Review and Create
We can now access our App Service View
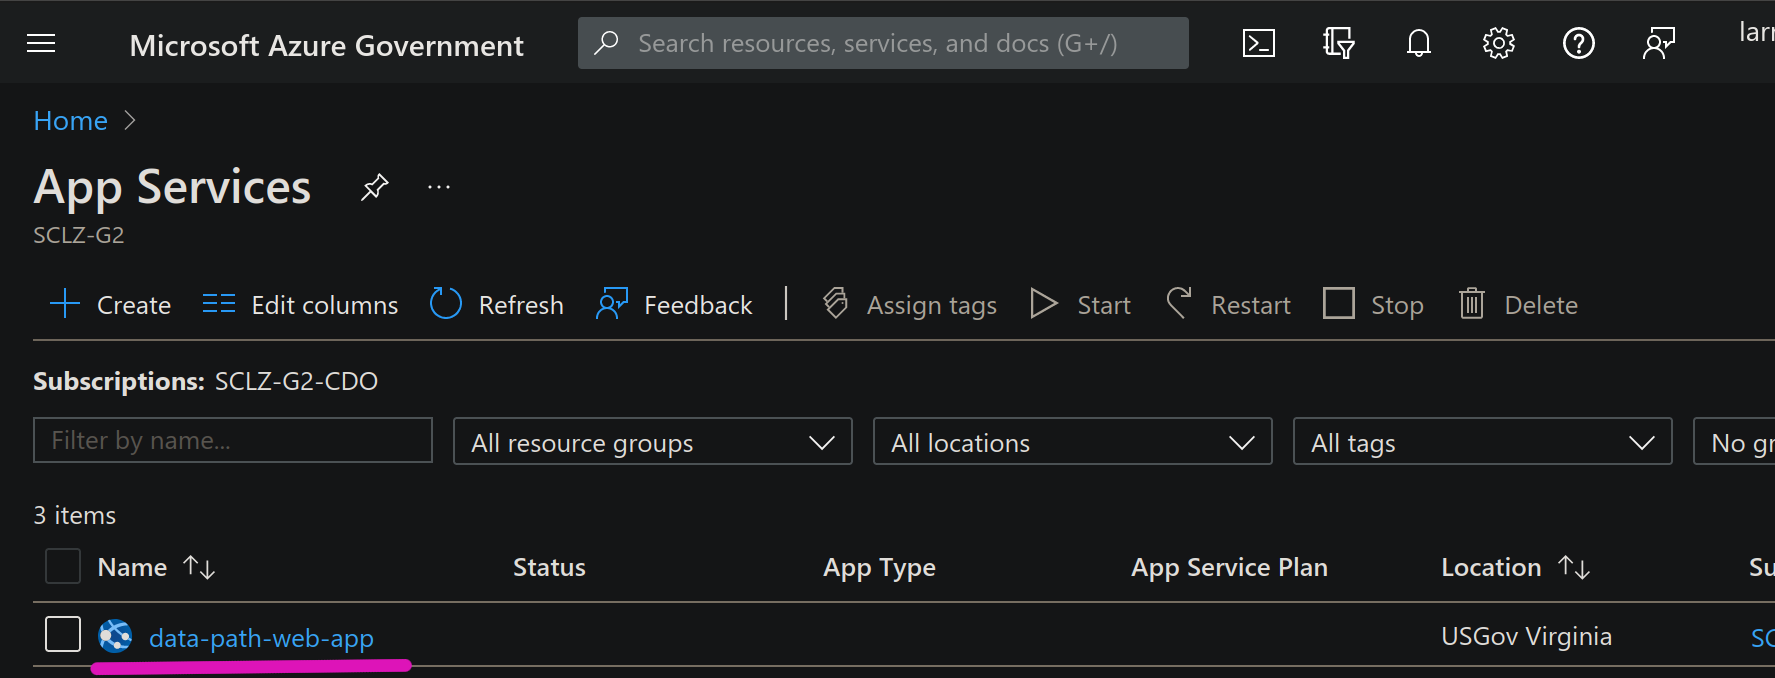
There are many options worth exploring in here, but we are going to focus on the configuration
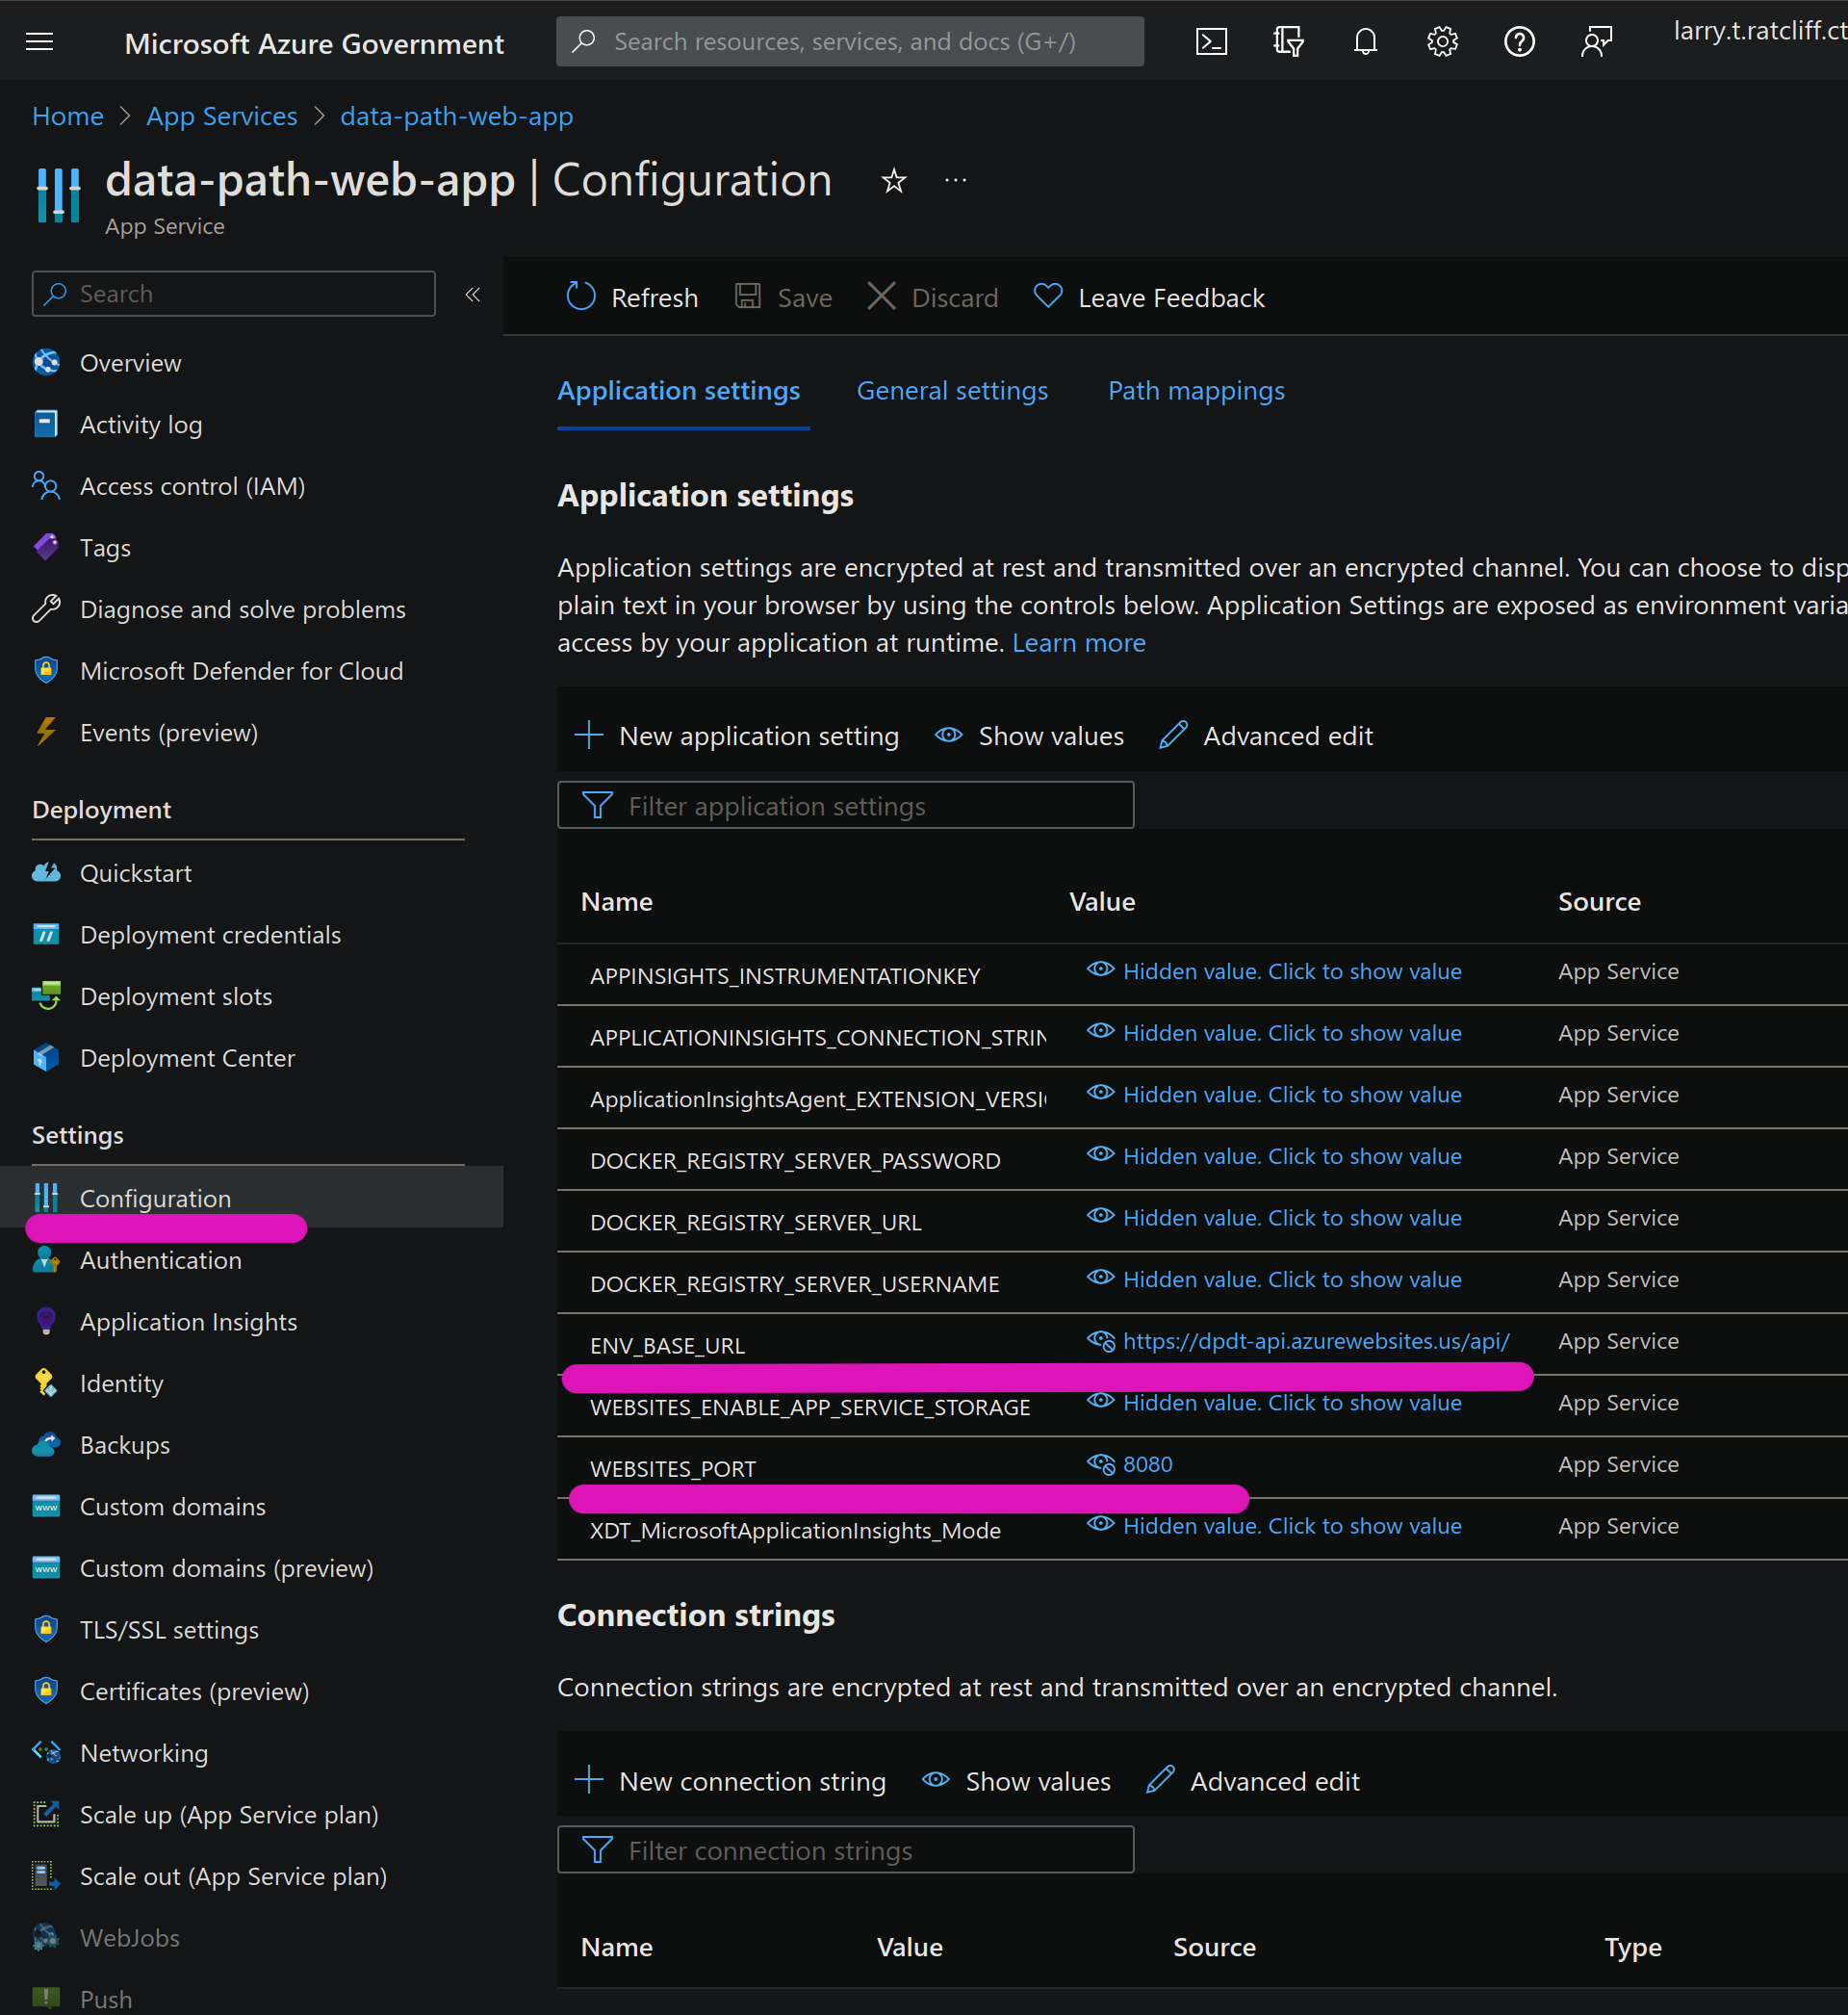
We will use this tab to inject our required ENV vars mentioned above
Select Configuration on the left
Notice the ENV (Specifically WEBSITES_PORT and ENV_BASE_URL) that we have set
Define any VARS needed here
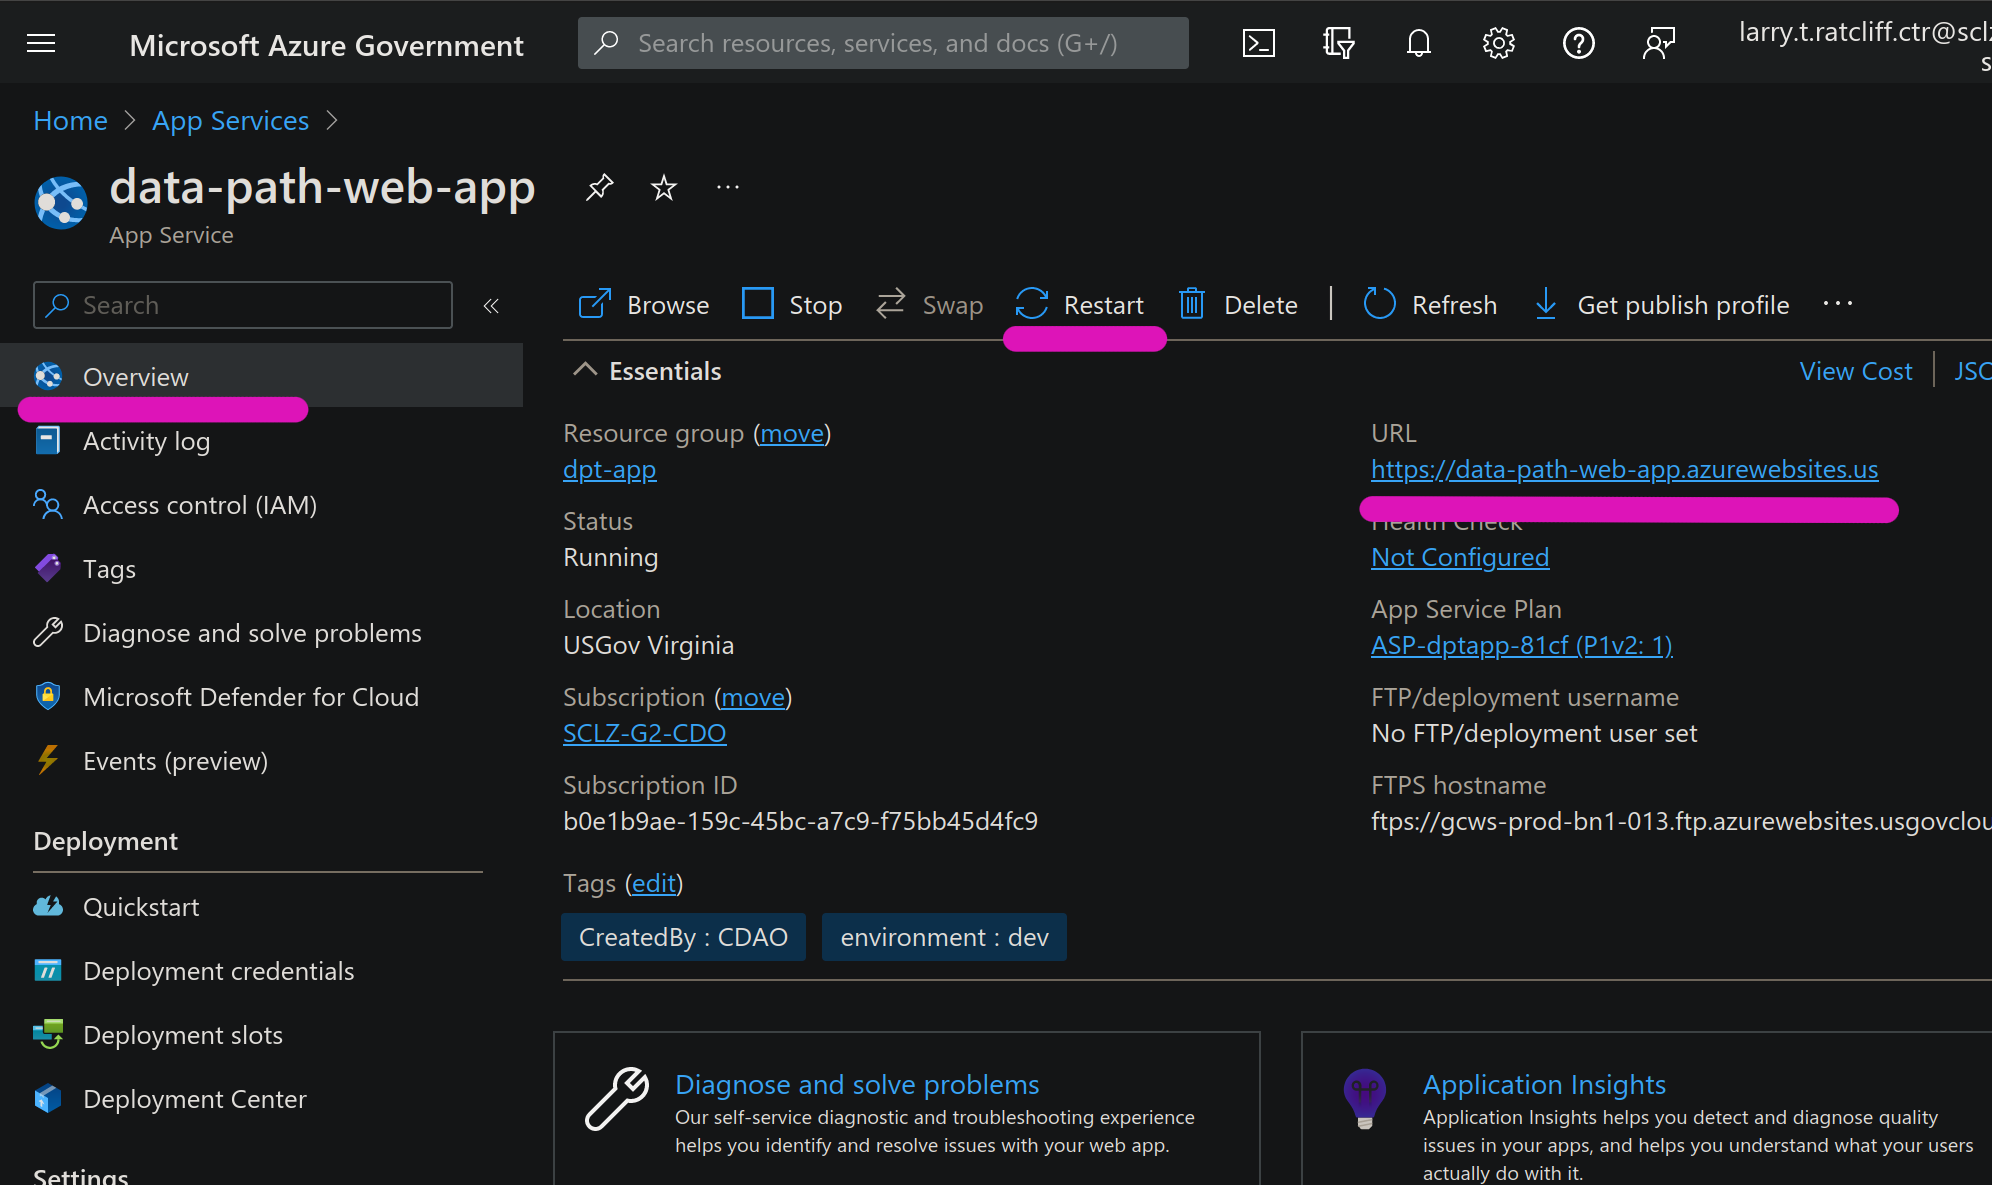
Navigate to Overview and click on the Restart button for new ENVs to take effect
:information: Note the Application URL Endpoint
That’s it! We have successfully deployed our Application in Azure App Services 🎉